Finger Knitting How-to
 You know how I just wrote about how I like getting a handmade gift more than just about anything. Well, this is anything. Sitting on the couch on a lazy Sunday, knitting with my kids . . . that beats gift-getting for sure. It is a gift itself. We just sat there side-by-side, for about an hour, feeling the warmth from each other’s bodies, listening to music from my computer and basking in each others company as the sun streamed through the windows. Ahhh . . .the experience was so delightful, it was hard to peel myself away to take the photos. That blue pile is my spot in the middle. You can look for a fun collection of easy knits coming soon from me.
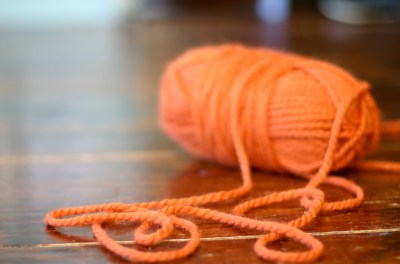
I think that super-bulky yarn is a good weight to start with. Its easy to work with on the fingers and your kiddo will get something done pretty fast.
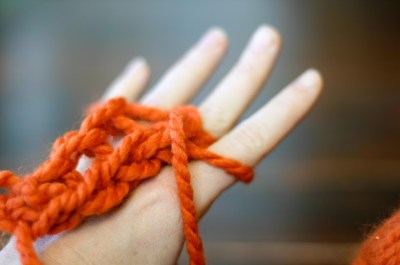
Pick up the yarn that goes to the ball, leaving the tail in between your thumb and hand. Bring the yarn behind your middle finger and over your ring finger.
Now, bring the yarn around your pinky, behind your ring finger and over your middle finger.
Next, bring the yarn around your index finger.
Now, we’re going to head back again. Bring the yarn behind your middle finger and over your ring finger.
Then, around your pinky, behind your ring finger, over your middle finger.
Starting with your pinky finger, bring the lower loop on your finger over the upper loop and over your finger.
Continue this process on each finger, bringing the lower loop over the upper loop and over your finger. Bring the tail in between your index finger and your middle finger. This is your home base. Now, repeat.
Wrap the yarn around your index finger.
Proceed to repeat the over and under until you have two loops on each finger.
Pull the lower loops over all the upper loops and over the finger, starting at the pinky.
This is how the back looks.
This is how the opposite side of the finger knitting looks.
To finish, cut the yarn and bring the end through each of the loops. If your child wants a break at any point, bring a pencil or pen through the loops in this same way and set aside. Then, easily place the loops back on the fingers when you want to continue.
Take the loops off your fingers and pull tightly.
Voila – there’s your finger knitting chain.


Leave a comment
This site is protected by hCaptcha and the hCaptcha Privacy Policy and Terms of Service apply.