DIY Hot Air Balloon Party Decor

Here is my favorite of all the DIY party decor ideas from my Flights of Fancy Mother’s Day Brunch. The idea of these hot air balloons got nestled in my head and I just didn’t want to let them go. Was it The Wizard of Oz that created this romantic notion of hot air balloons early on in our psyches? Or, is it simply the thought of silently floating away under a rising balloon with a fresh, crisp breeze at our back that strikes us all as dreamy–a whisking away from all our troubles. This thought becomes all the more poignant when you have a balloon with your name on it!

And, in fact, isn’t this whisking away kind of what Mother’s Day does? It’s a romantic one-day escape from all the truth and reality of our lives. The to-do lists, the mess, the arguing, all fade away in exchange for breakfast in bed, dishes cleaned by someone else, some flowers (hopefully), a family bike ride, a dinner out. It is one day where we moms can blissfully ask for, and usually get, anything we want. I need that kind of escape more often! If your family is anything like mine, the get-away doesn’t last long (maybe not even past that breakfast in bed)!
 Back to the balloons themselves, fabulous party themes abound with these in mind. Imagine these balloons in bright red for a 1st birthday party. Or, how perfect for an engagement party with a little bride and groom in the basket? . . . just darling.

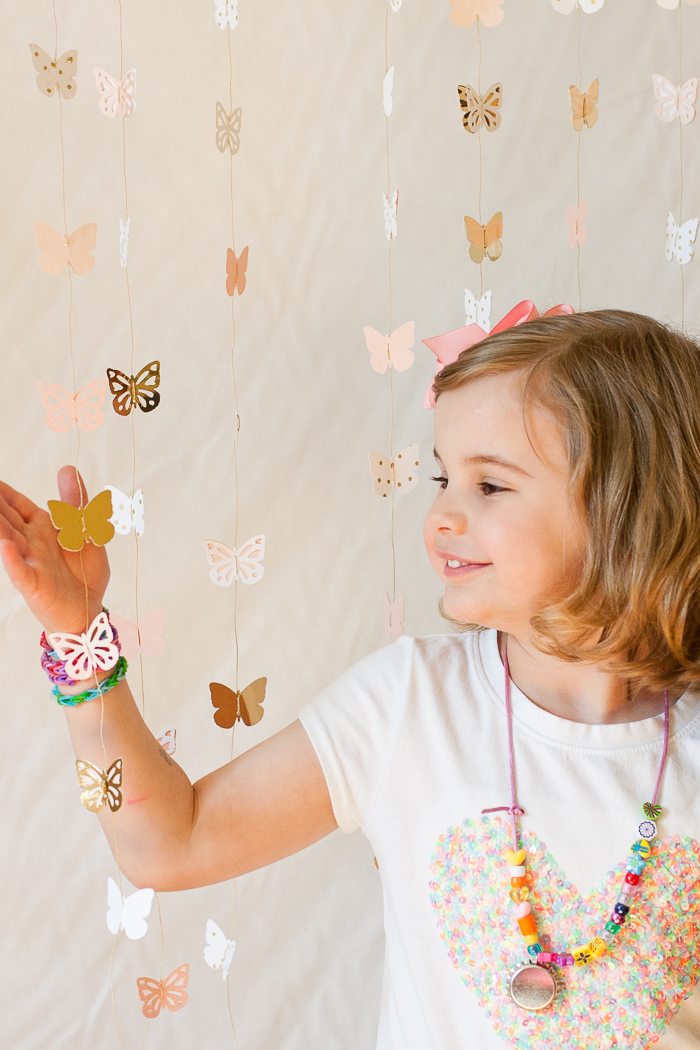
I also think they’d be perfect in a nursery. How sweet would a peach and gold little girl’s room be with balloons and butterflies a-flying!

This party was inspired by my #12MonthsofMartha box, which came full of party goodies from Martha Stewart this month. The team of bloggers, which I talk more about here, are such a talented and lovely crew. I feel honored to be counted in their number.

DIY Hot Air Balloon Party Decor
Materials
Cover or cardstock (Two 3 x 8.5" pieces per balloon )
12" Honeycomb Tissue balls (like this)
Cherry Blossom Deep Double Edge Punch
Martha Stewart Butterfly Stickers
Sharpie Paint Marker Gold (medium)
Martha Stewart Craft Glue
Martha Stewart Doily Lace Gold Thread
Scotch Tape
Glitter Gold Alphabet Stickers ( couldn’t find the same online, but these are similar)
If you’re in love with my scissors, you can find them here (fair trade!)
Balloon Top

:: Draw a balloon shape on a piece of paper and cut it out. The most important thing about this shape is that its skinnier at the bottom of the balloon and more bulbous toward the top.
:: Trace balloon shape on to the cardboard side of tissue ball. Make sure the string to hang the ball is at the TOP of your balloon shape so you can hang it later.
:: Cut along line to make balloon shape. It’s pretty thick so I cut half first by opening up the ball a little. Then close the ball and cut along the same line through the remaining layers.
Balloon Basket

:: Cut two 8.5 x 3" pieces of cover stock. Decorate as desired. I gave this version a hand-dotted polka dot finish.
:: Place pieces across one another with the outsides of the basket facing down. Measure and mark or score line at 2.75" in from each end.
:: Fold inward edges inward. This will provide a base to the basket that is 3 x 3". 
:: Use tape to close each basket’s sides.
:: Piece of tape should stretch lengthwise down each corner.
:: Add any final embellishments. I added a butterfly sticker for this version.
Flower Edged Basket

This basket is made in the same way as above, with the same measurements.
:: Before folding the pieces, use the cherry blossom edge punch at each end of the 8.5 x 3" strips of paper.
:: Add paint if desired. I added a polka-dotted edge just underneath the punch with the tip of a medium sharpie.
:: Embellish with stickers. In honors of mothers day, I pimped this basket out with some gold glitter saying my name!
Bunting Basket

:: To make this basket, score and fold the edge of each 8.5 x3" strip down 1/2".
:: Place basket pieces face down with fold underneath.
:: Measure 2.25" in from each side. Fold up and tape to make basket as above.
:: Cut a piece of gold thread approximately 16". Make the bunting by cutting elongated triangles from 2" pieces of folded, colored or painted paper. Cut with the base of the triangle at the fold. Once folded and cut, each flag is about an inch long.
:: Fold triangles over thread, and glue closed. Let dry.
:: Attach bunting by taping or gluing it to the corners of the basket.
Attaching Basket

:: Cut 4 pieces of thread approximately 10" long. Attach each piece of thread to one of the corners of the basket with tape. This will further reinforce the basket corners as well.
:: Bring the four threads together and tie an overhand knot keeping the lengths of thread from the basket as even as possible.
:: Attach knotted end to the center of the balloon top. Secure with tape. Open up the tissue ball and glue or double stick tape it open. There should be a string at the top of the tissue ball with which to hang it.
Yay! That’s it. Easy. More Mother’s Day Brunch goodies tomorrow! Come back . . .xo


Leave a comment
This site is protected by hCaptcha and the hCaptcha Privacy Policy and Terms of Service apply.