DIY Locker Decorations: Mirror +Bulletin Board
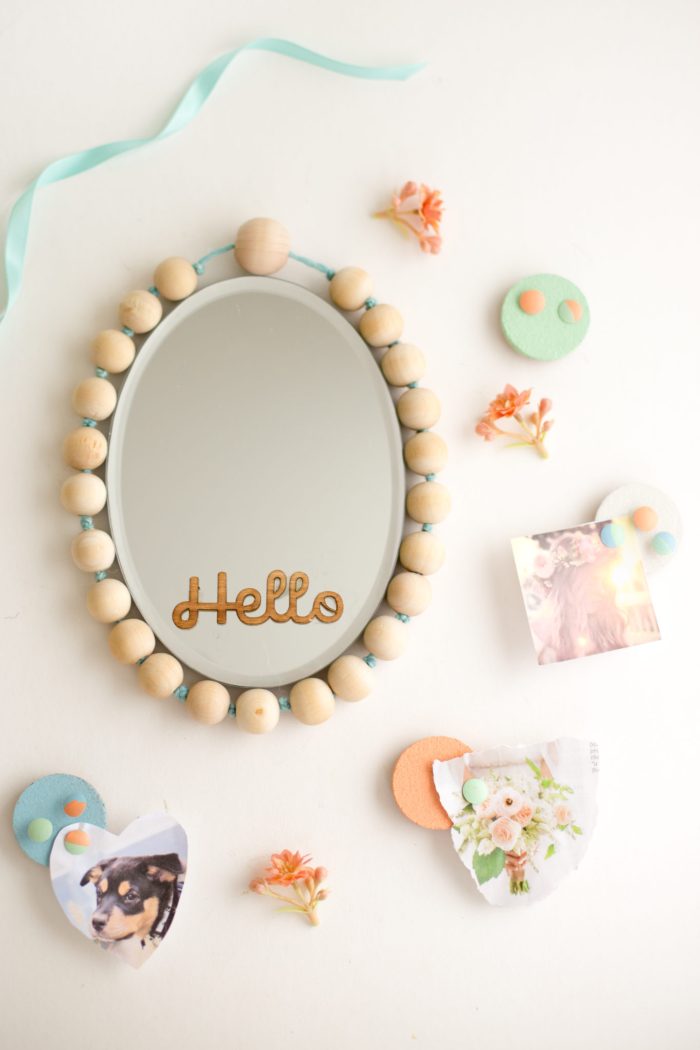
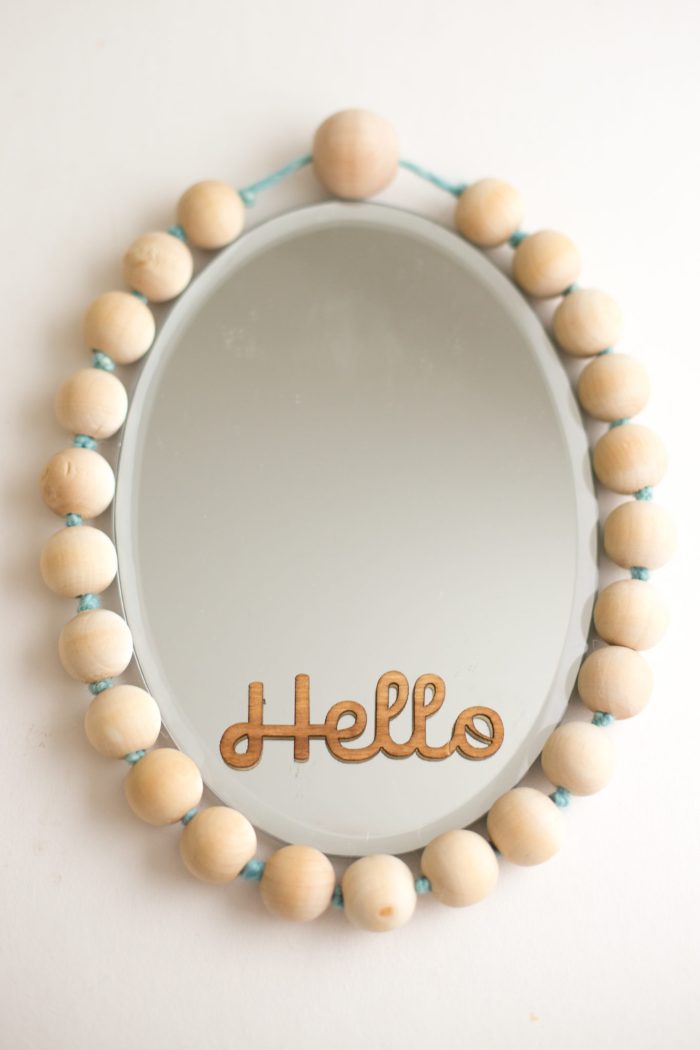
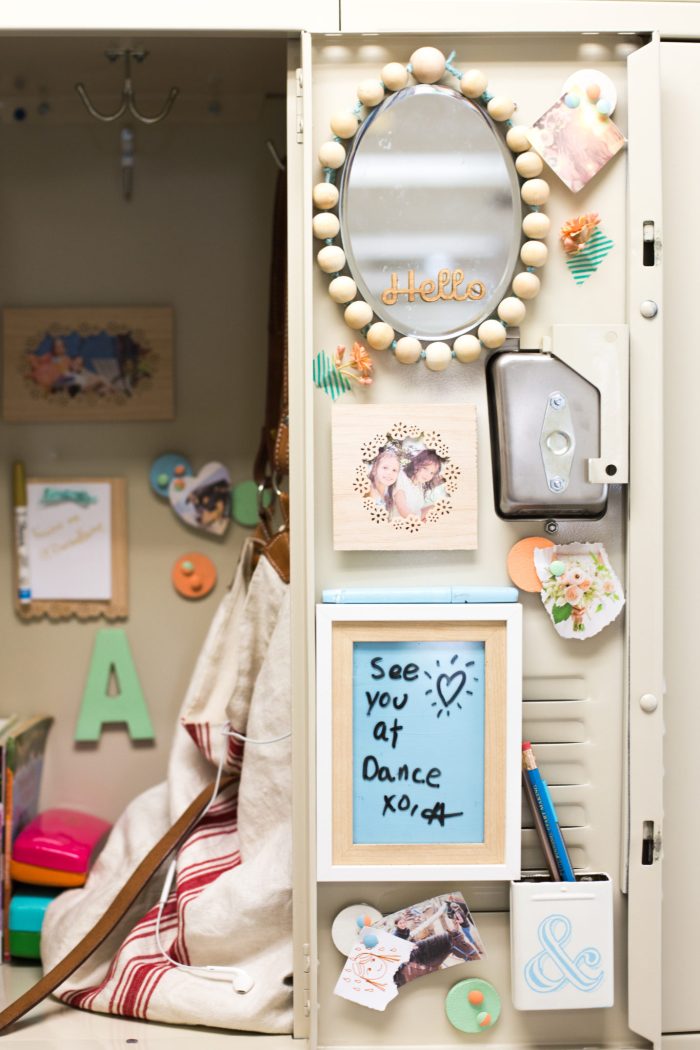
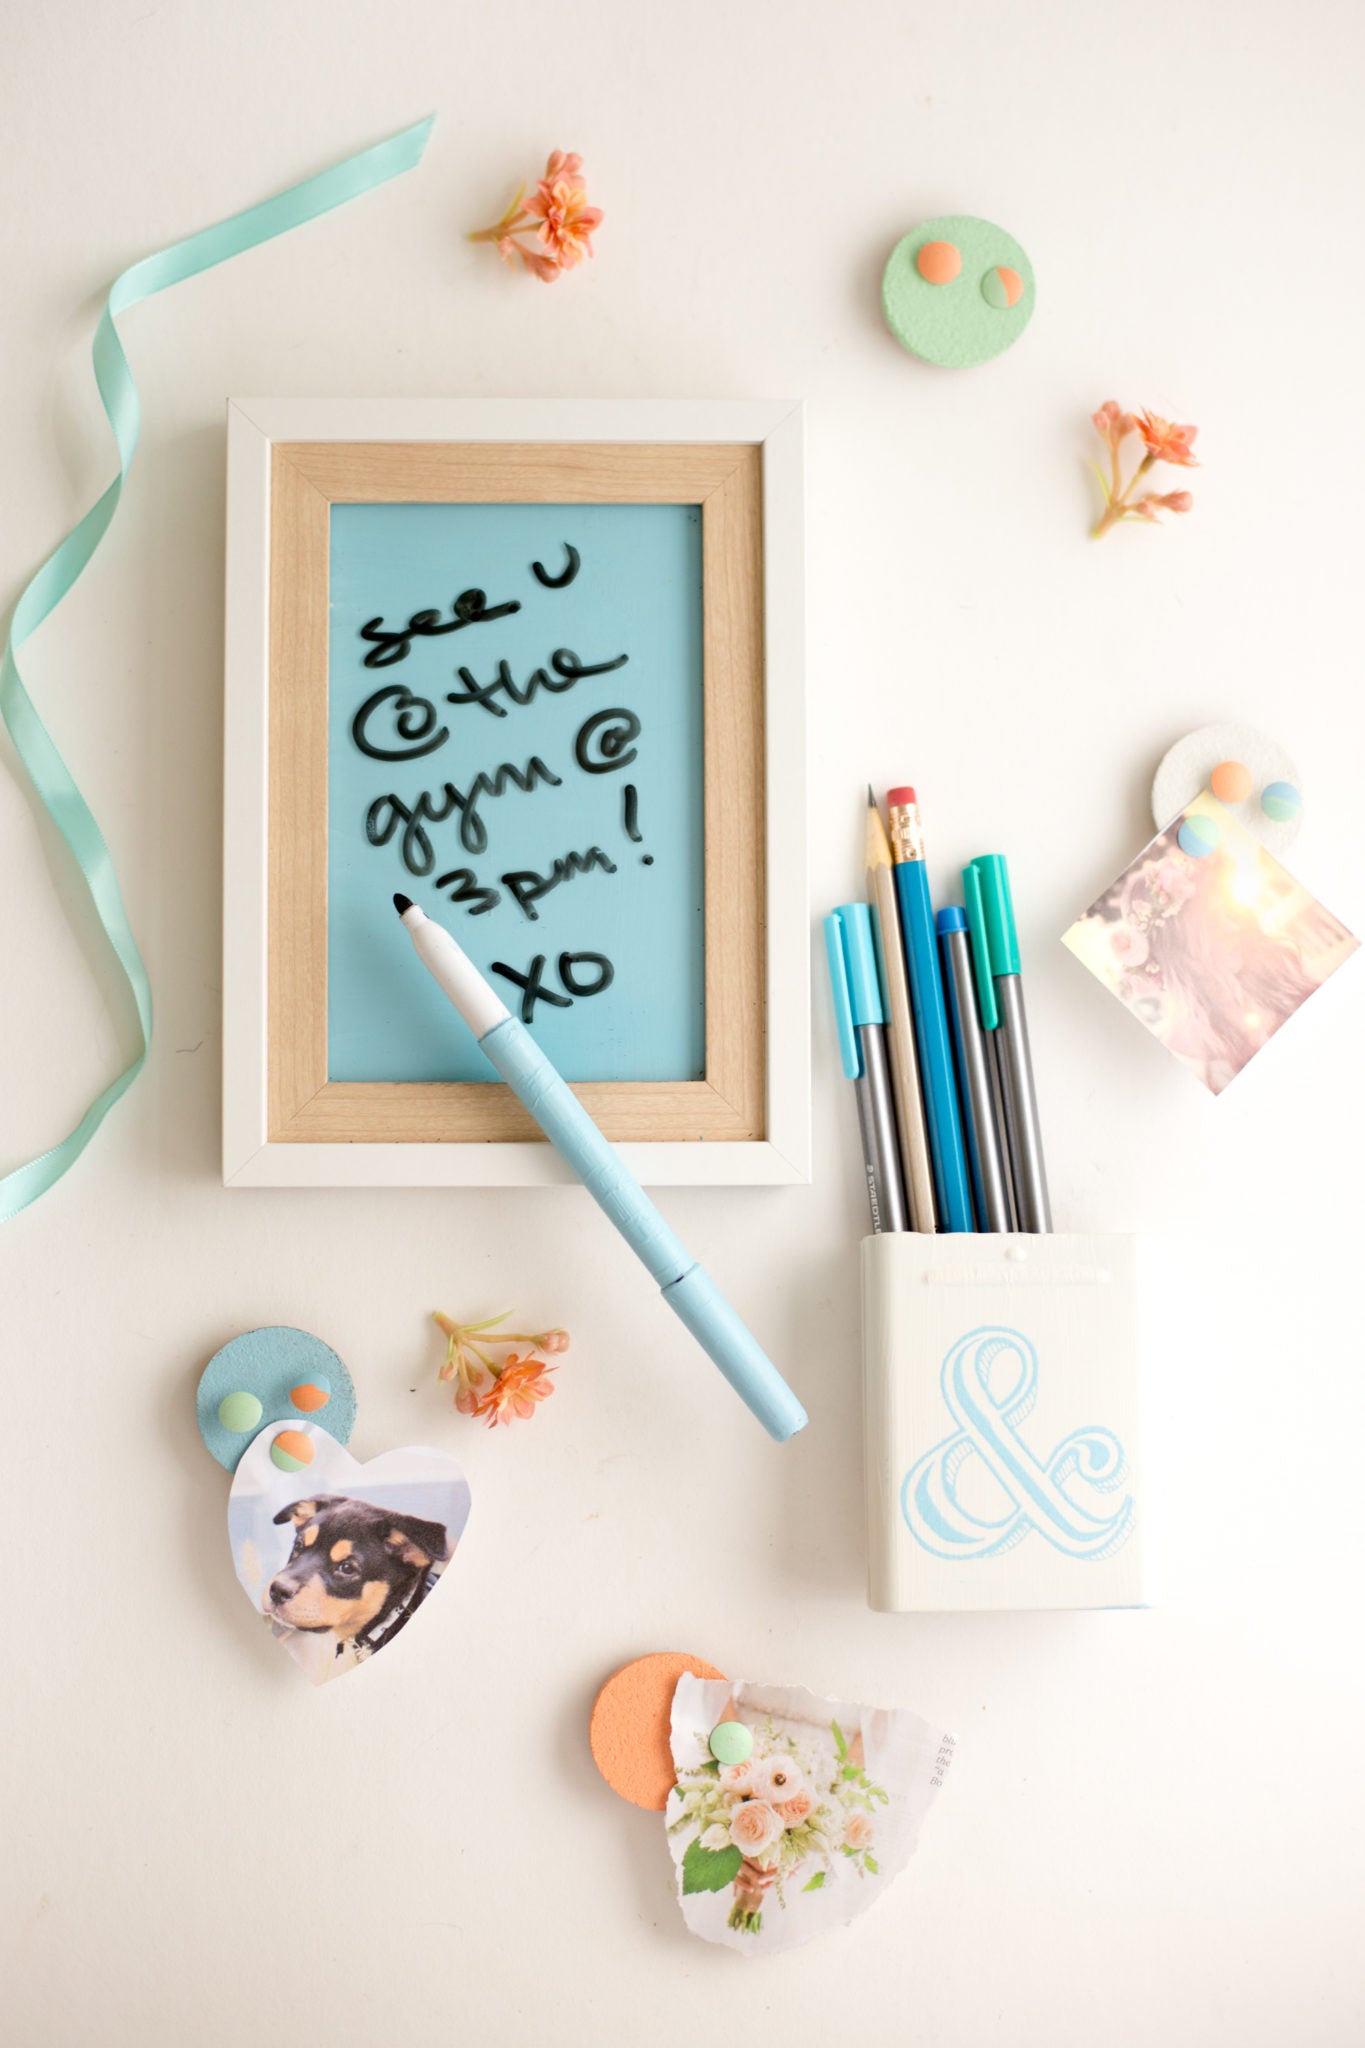
Here is Part II of my DIY Locker Decorations series. Yay! Look at this beautiful magnetic beaded mirror and little mini bulletin boards with matching thumb tacks. Of course, the mirror has a happy little “Hello” to say to you every time you take a peek. I mean, really, let’s be honest, wasn’t the mirror the most important thing hanging in your locker in 7th grade? Nothing like that flash of braces behind pink glossed lips!
I must admit that I love unfinished wooden beads. I think “can I use them here?” with almost every project. Well, just the act of stringing them for this, made me uber happy. Then came the little cork bulletin boards. I love that they are moveable with a little magnet stuck to the back of each one. Forget the mirror, this way, you can place the most important thing you absolutely can’t forget right at eye level. I made a bunch of these for my fridge, too.
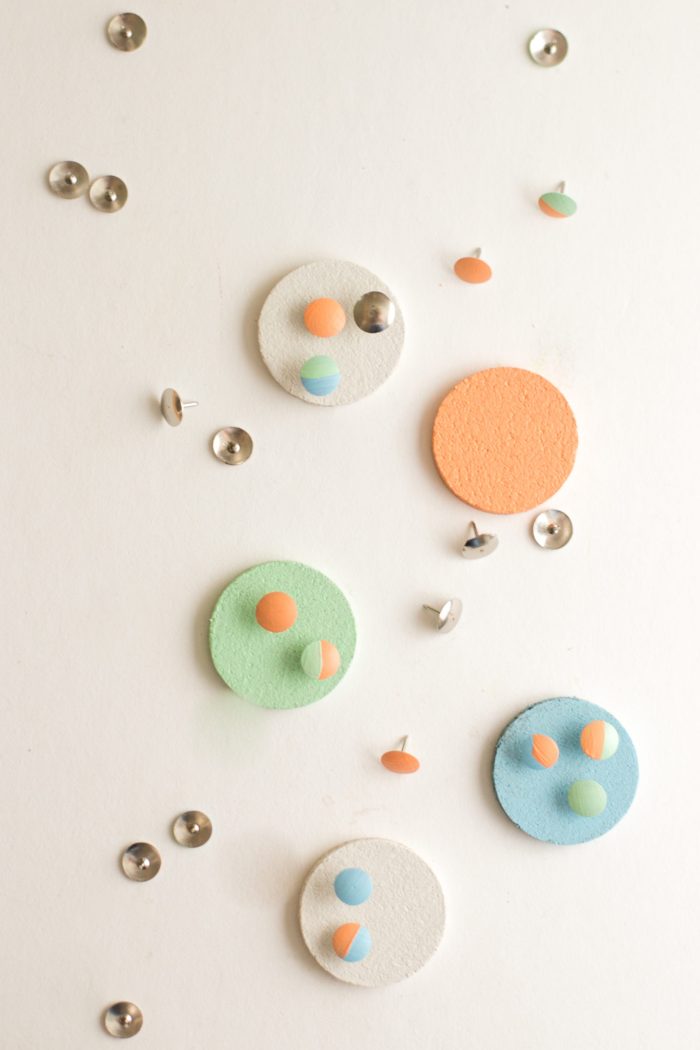
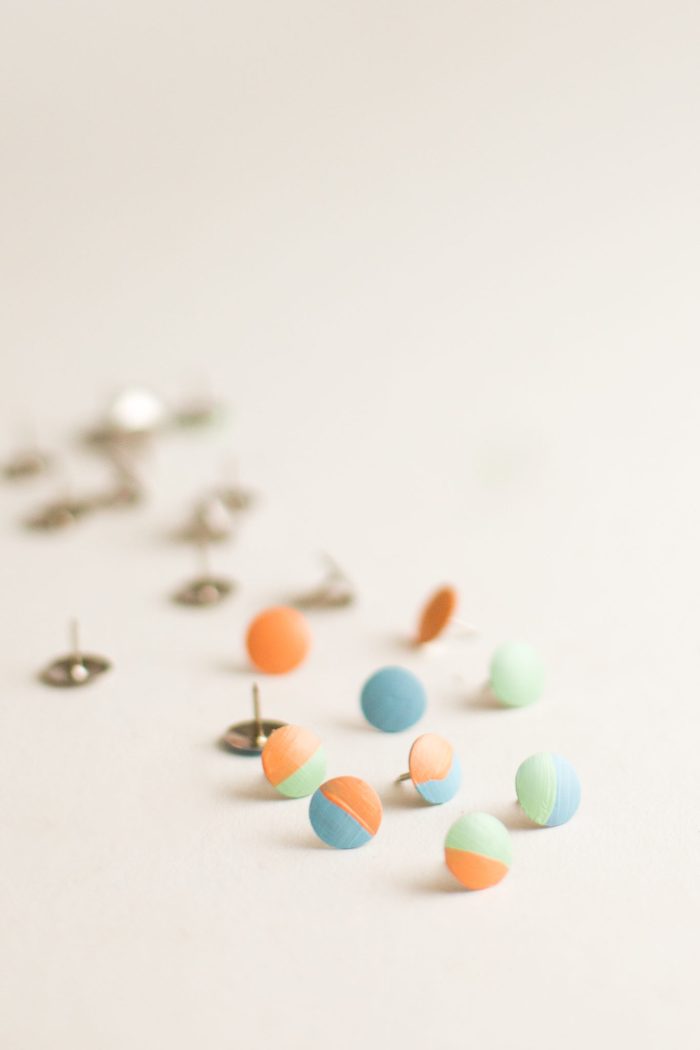
Now, it may seem like a waste of time to paint thumb tacks with all the crazy office supplies out there, but I have to say, it was very relaxing. Plus, to perfectly color coordinate them to my every need–happy times. These fabulous paint colors were based on the latest cover of Martha Stewart Weddings and came in my #12MonthsofMartha box. I almost whooped out loud, it was so close to my ideal favorite palate (Um, have you seen my logo, lately?). You can read about the program here and of course, check out the Instagram feed for other bloggers on the team’s projects.
I’m just loving all the goodies from this DIY Locker Decorations series actually in a locker! Here is Part I (the frames and notepad and letter) and you can look forward to the dry erase board before the end of the week!
And, now, how to make the mirror and mini bulletin boards!
DIY Magnetic Mirror with Wooden Beads
Materials:
-5/8" unfinished wooden craft beads
-1 1" unfinished wooden craft bead
-oddment of yarn in pretty color
-adhesive magnets (thicker is better to accommodate the beads)
-glue gun
-oval mirror (inexpensive at Michaels though I couldn’t find online, don’t you hate that??)
-fun wooden word embellishments (I found these at Michaels near the scrapbooking section, but I couldn’t find them online.)
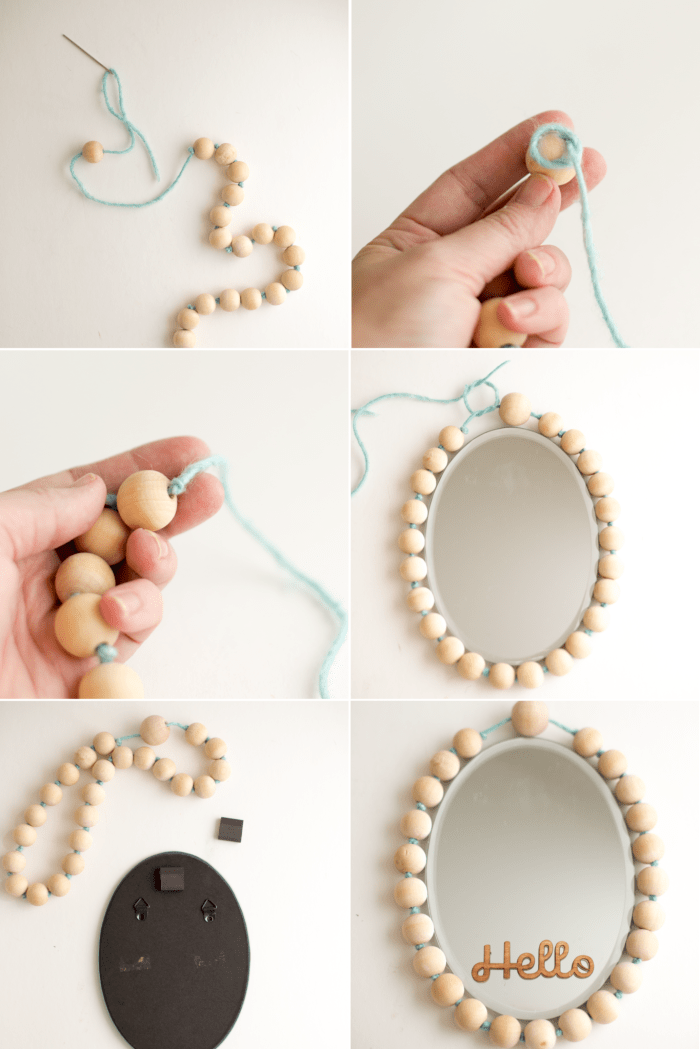
:: Thread wooden bead onto yarn.
:: Tie a knot as close to the bead as possible.
:: Tie 1-2 more knots, depending on your yarn thickness, to keep bead from slipping. Repeat for each bead until desired length.
:: Placing the mirror face down, measure the length of beads you need. I tied the length in a square knot and hit the knot under the largest bead at the top.
:: Adhere magnets to the back of the mirror. I suggest thicker ones for this mirror to accommodate the bead thickness.
:: Apply glue to beads and to adhere them to mirror, making sure to do so while mirror lays flat on table. Adhere desired embellishment to front of mirror.
DIY Magnetic Mini Bulletin Boards and Thumb Tacks
Materials:
– 2" unfinished cork circles
– Unfinished thumb tacks
– Martha Stewart Satin Acrylic Craft Paint
– Craft glue
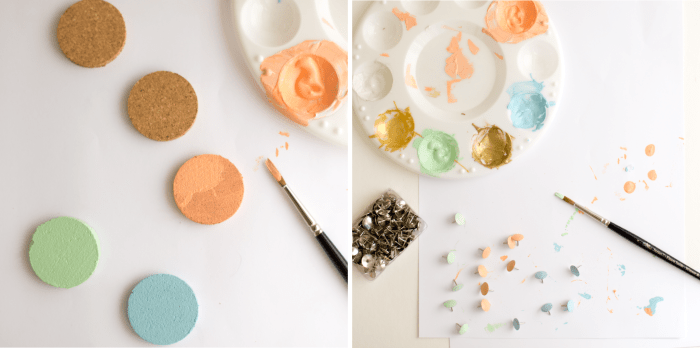
:: Paint cork circles desired color with 2-3 coats. Let dry. Glue an extra circle under the painted one to make thick enough for thumb tacks. Adhere magnetic strip to the back of the cork.
:: Paint thumbtacks in desired color scheme with 2-3 coats, let dry.
Wanna shop the supplies? Just click below:


Leave a comment
This site is protected by hCaptcha and the hCaptcha Privacy Policy and Terms of Service apply.