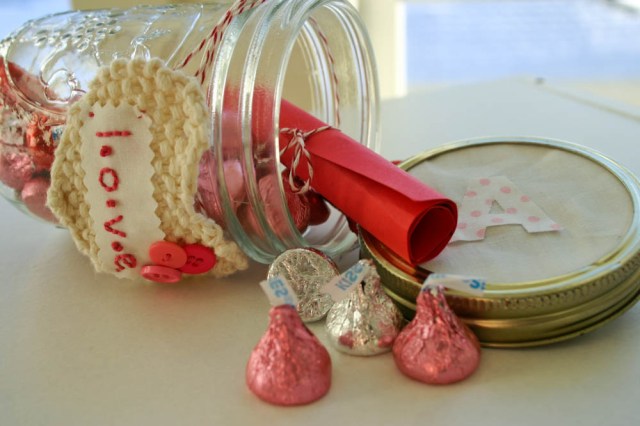
After knitting a whole pile of my Sweetheart Knit Valentines – what to do with them!? I saw the chocolate kisses at the drugstore, which my kids adore and don’t get very often. How they would love to have their very own stash of kisses. How to package them? hmmm – who doesn’t like a hidden message, a secret love note? AND, for some reason (maybe because I had three kids in three years) they like to label and differentiate their stuff! Anything with their initials makes them very happy. Long after the kisses are gone, they can reuse the jars for their own treasures (rocks, finger knitting, trading cards, crayons, etc).
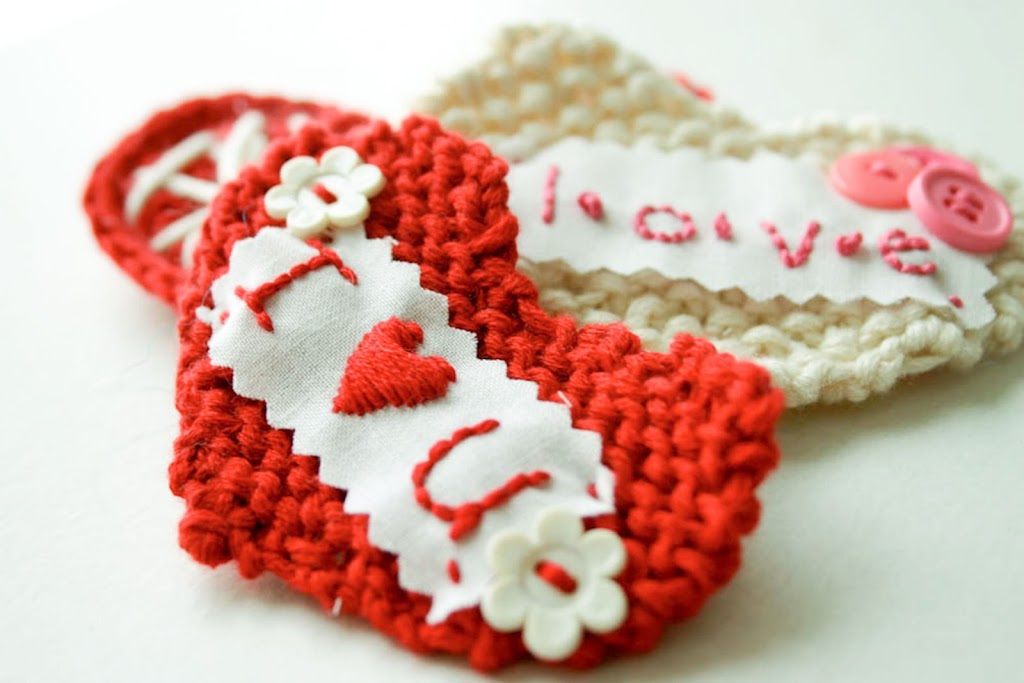
They had already picked out their favorite hearts from my pile, so I used those . . .
Please don’t laugh that my kids initials are A, B, C (and, then, there’s “D” for Daddy). I didn’t do it intentionally, but it is how it came out. I didn’t notice the “ie” in all their names, either – Charlie, Baillie, Allie, until their birth certificates were done and I was out of options. ah, well. Look carefully below at the adorable postcard from Marisa at Creative Thursday. I love, love, love her paintings and her blog – always something cheerful to make you happy.
Here’s the how to:
1. Gather all the goodies:
-Construction paper
-Marker
-Treats to fill jar
-Fabric to top the jars
-Computer/printer to print out letters
-Contrasting fabric for the letters
2. Write your most-of-the-time-darling a mama-love note.
3. Roll it up and secure with twine.
4. Place it in the bottle (or in this case, a
ball jar – I love them – so many uses).
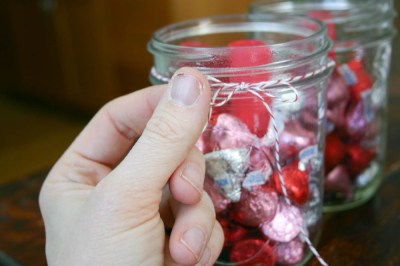
5. Fill jar with chocolate kisses or treat of your choice (gumdrops, candied hearts, etc.).
6. Go on – Fill all the way to the top! Or, if you want to give fewer treats, make the love note a really wide cylinder to take up more room in the jar.
7. Take the knit heart (or other decoration) and thread
twine that’s long enough to go around the jar and tie in the back through the knit heart or other decoration.
8. Secure heart or other decoration onto jar.
9. Cut a five inch square piece of white (or other) fabric using pinking shears. You could cut out round pieces for a more even look, but this just takes too long in my book. Put the fabric on top of the circular part of the jar top but under the screw lid. Screw on tightly.
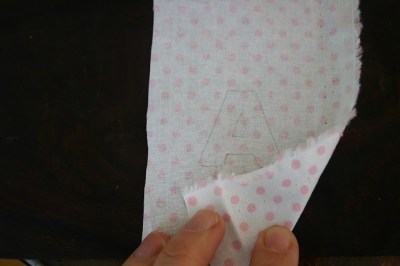
10. Print out required letters (I used Arial size 120pt). You can certainly play with a fun font but I wanted to keep it simple. Cut out the bulk of the letter with scissors
12. Drawing on the back of the fabric, trace the letter BACKWARDS! With an “A” it doesn’t matter but with the “B” and the “C”, I had to remember to flip them over! Don’t forget!
13. Cut out the letter – try to use sharper scissors than I did – very frustrating – dull scissors.
15. Apply the letter to the top of the jar.
16. And, voila! Whew! The kids valentines are done!
 Don’t forget to pop over to Creative Thursday if you want a whole collection of sweet postcards like this one above.
Thanks for reading!
Anne Weil
 Don’t forget to pop over to Creative Thursday if you want a whole collection of sweet postcards like this one above.








Leave a comment
This site is protected by hCaptcha and the hCaptcha Privacy Policy and Terms of Service apply.