DIY Paper Flower Wall
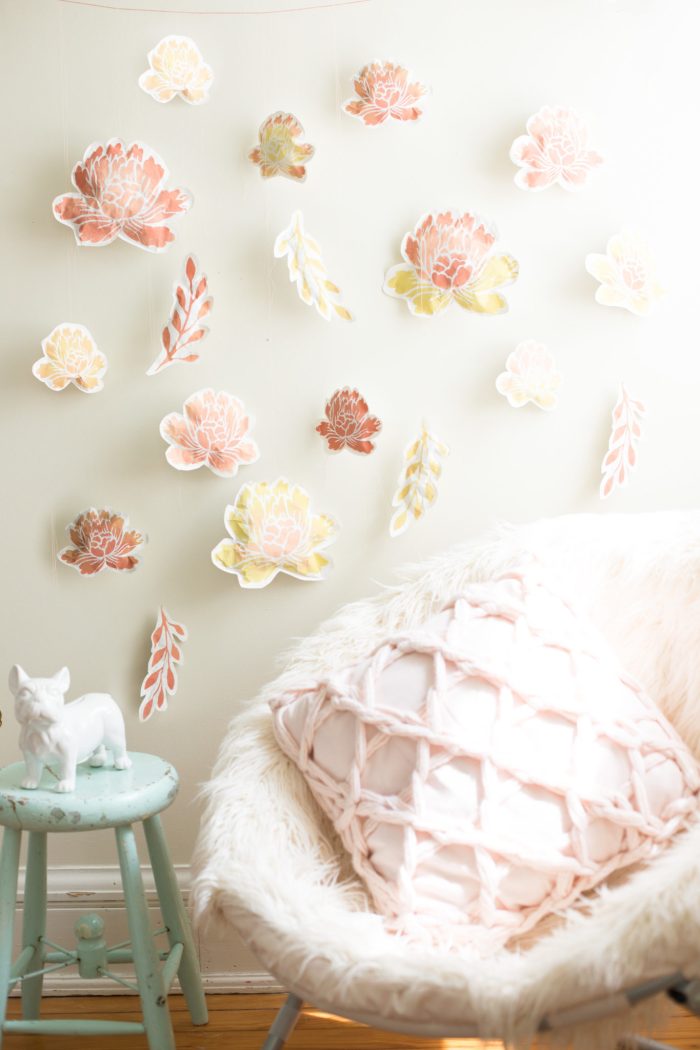
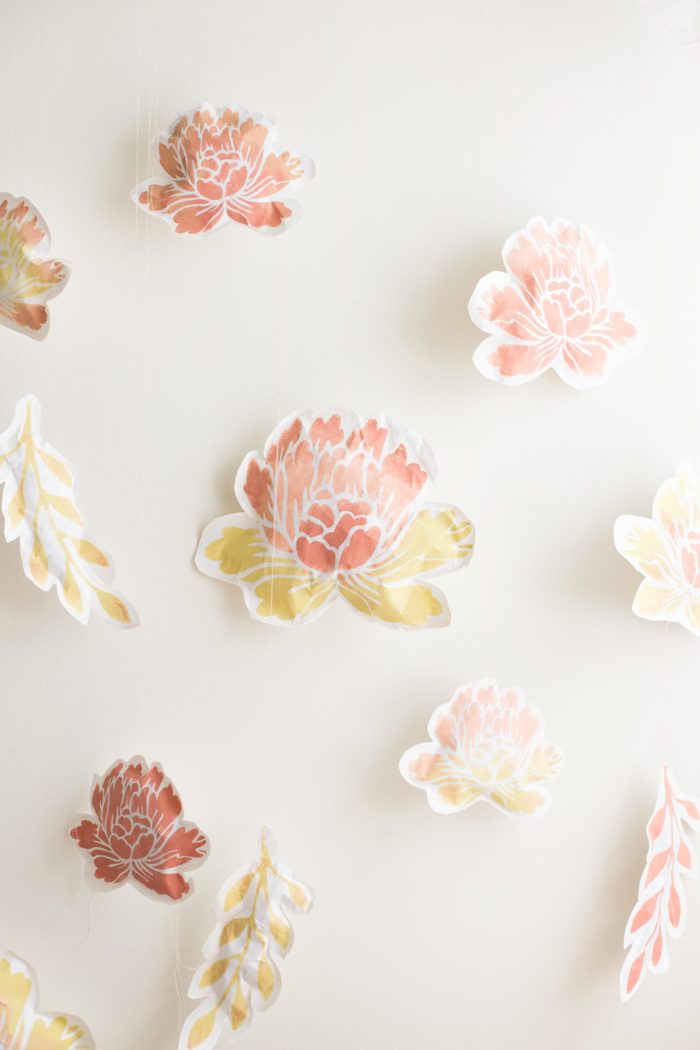
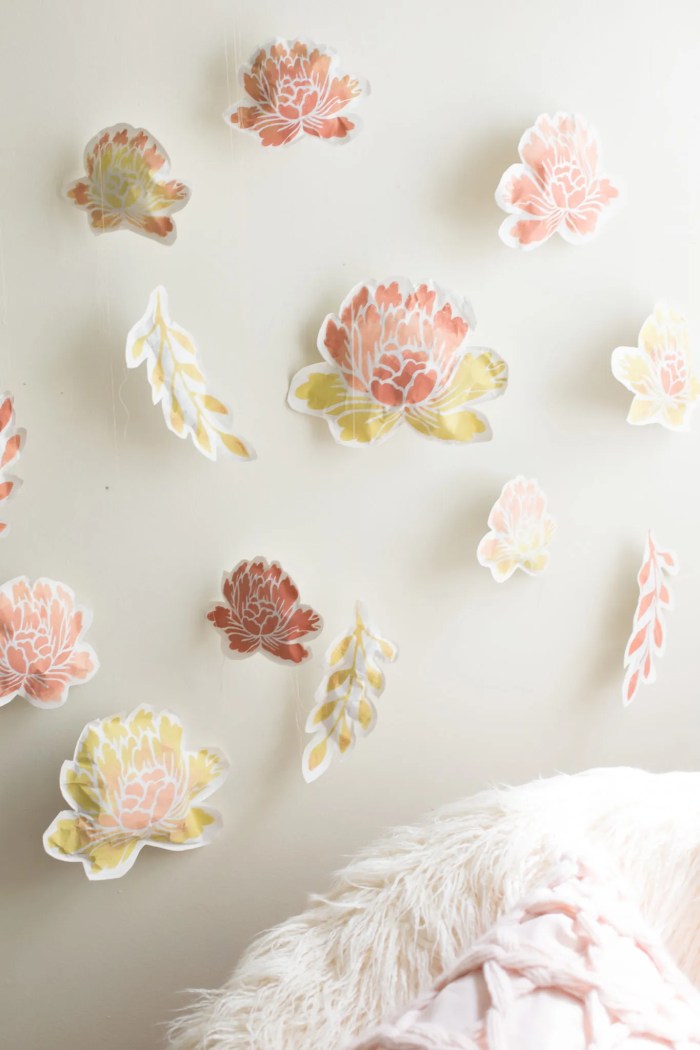
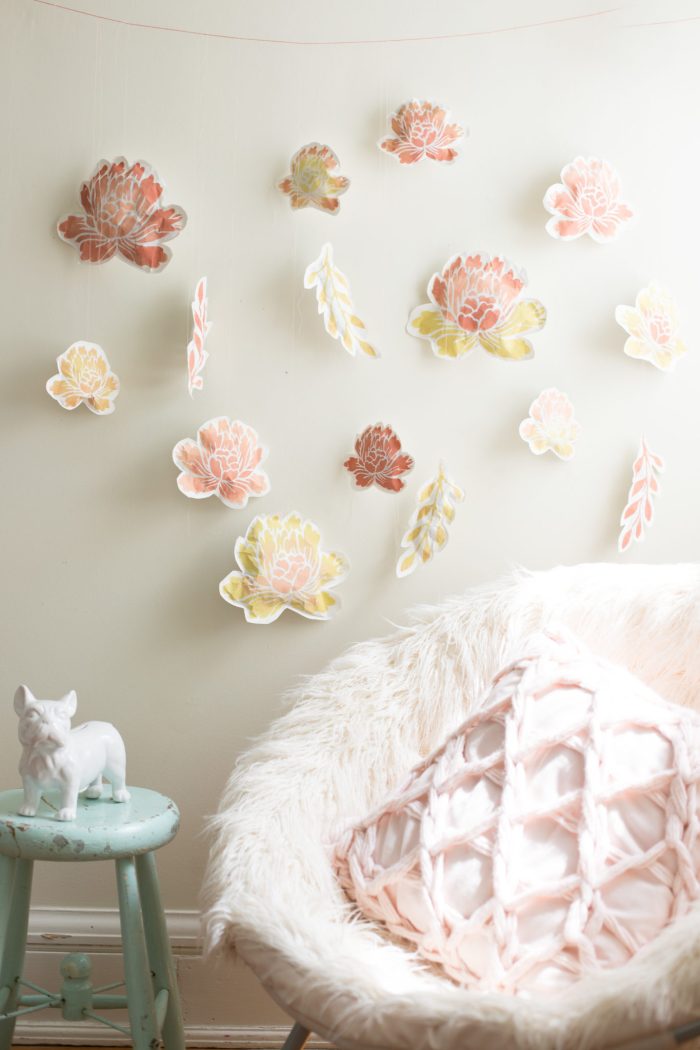
Squee! I’m in love with this DIY Paper Flower Wall! It’s not your typical version but I think is pretty bomb-diggety! These flowers are stenciled, sewn, stuffed and hung to make me, and you, super happy!
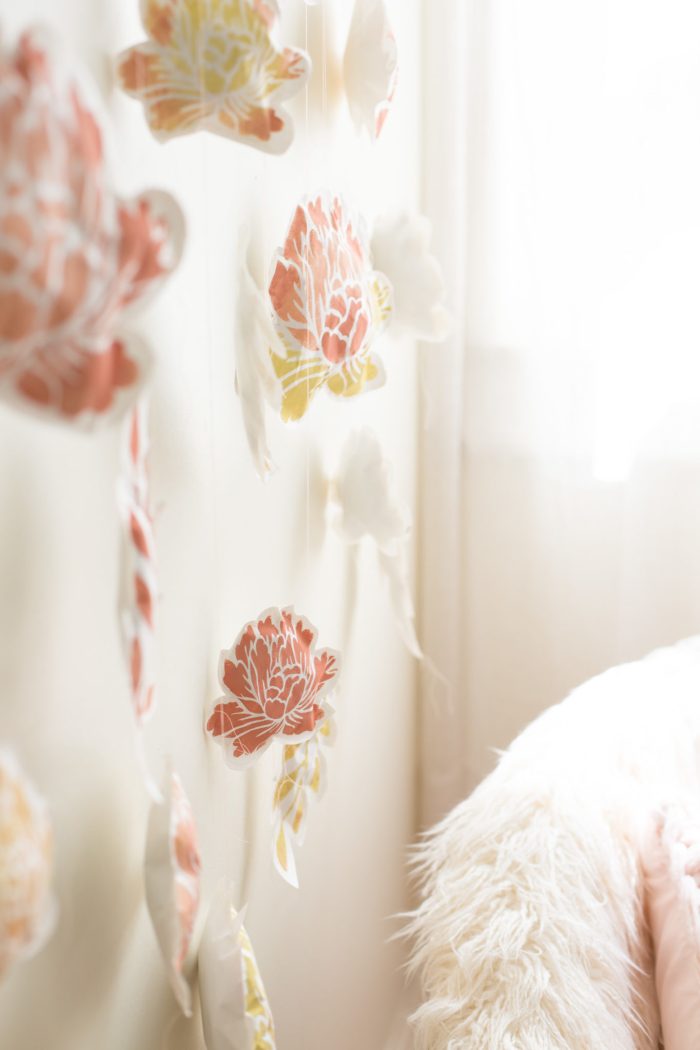
The second I saw the stencils in my #12MonthsofMartha box, this idea bloomed in my head. The stuffed flowers give the whole piece a cool sculptural feel even though its simply paint on paper. I think this would be fabulous for a party table backdrop, a photo backdrop, or just a pretty installation in a baby or girls’ room. Well, let’s face it, they kinda would be fabulous anywhere!
I added this DIY paper flower wall to Allie’s bedroom while she was at camp today. I’m so excited to see her response. She’s going to be a tad giddy I think. Then, maybe we’ll make some more to give her friends! This would be a great kids’ project. The painting is super fun and its an inexpensive material to practice using the sewing machine.
What an absolutely fabulous cozy little nook. Forget the reading, I’m ready to close my eyes and do a little day dreaming in that corner!
DIY Paper Flower Wall
Materials
MS Vintage Decor Blossom Stencil
MS Vintage Decor Paint in Terra Cotta, Cantaloupe or Tomatillo
White butcher paper
Scissors
Tissue paper
Foam pouncers
Sewing machine
Sewing thread
Tape
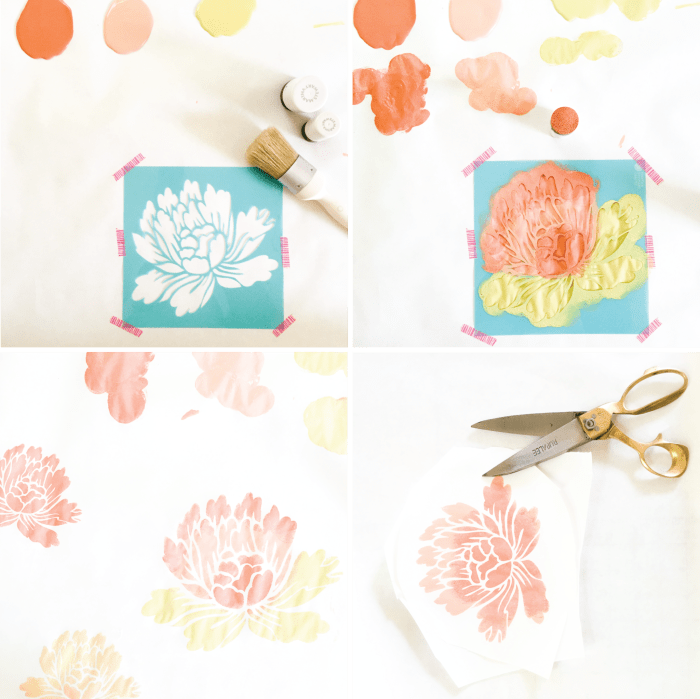
:: Tape stencil securely against white butcher paper.
:: Use paint and pouncer to tap, tap, tap paint on top of the stencil, being careful not to flow over the edges. Don’t soak the pouncer with paint, it should barely be sponging on as you go, otherwise it will sneak under those edges. Play overlaying colors or using certain colors on certain parts of the stencil for variety.
:: Have fun with it, make a bunch all over the paper. Leave a little room around each one to have space to cut and sew for the final product. Take risks and play! Let paint dry.
:: Once the pieces are dry, cut out each one with a few inch margin around each flower (or whatever shape you’re doing).
:: Cut a matching size of plain paper to be the back.
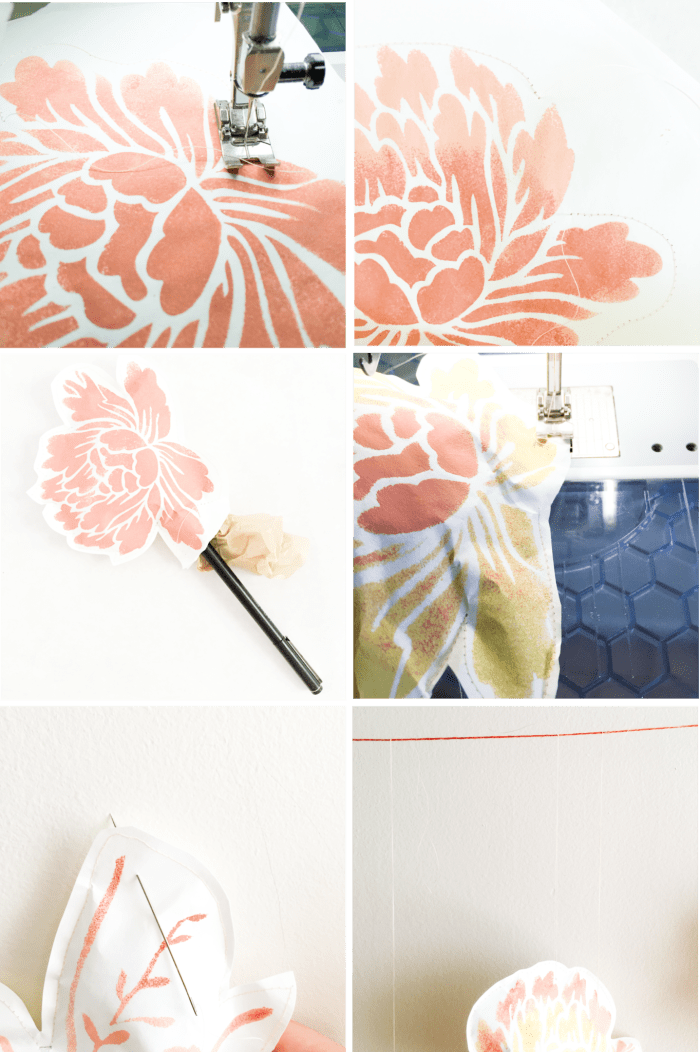
:: Sew around the shape approximately 1/4" from the edges of the paint, sewing the two pieces of paper together as you go. You’re basically making a paper pillow. Follow the lines of the shape as much as you can as this will give your piece more shape and feel more realistic.
:: Leave a opening along one edge so you can stuff the piece. Cut around the edges of your shape approximately 1/4" from your sewing line.
:: Use tissue paper and something long and skinny (chopstick, pen, etc) to help stuff the shape. You could use poly-fil stuffing if you had it on hand.
:: Once the piece is stuffed to your liking, sew up the hole.
:: String sewing thread through the top of each shape.
:: Tie each puffed piece to a length of scrap yarn in your desired layout. If you have a shape that twists too much, you can hang it from two strands to keep it more fixed.
This post was completed as part of the #12monthsofmartha program. To check out the fabulous team of bloggers working for Martha Stewart Crafts, go look at the Instagram hashtag for all sorts of lovely projects!



Leave a comment
This site is protected by hCaptcha and the hCaptcha Privacy Policy and Terms of Service apply.