Skip to content

Cart

Your cart is empty

Sign up for our newsletter

GET 10% OFF FOR SIGNING UP! Receive updates on new kits, sales, freebies, helpful info + more.

Blog

banner

A Finger-Knit Ghost Garland - DIY tutorial

I’m so excited to be presenting a new tutorial for you. I’ve had to squeeze it in between lots of crazy work/house stuff, but it’s done. And, I think its pretty cute! It is a collection of sweet black ghosts on a decorative strand of finger-knitting. A ghost garland–yes. And, no, I haven’t gotten sick of a good garland, yet. I think this would be really cute over a festive Halloween table, or strung across an entry or mantle.

I have been thinking a lot about finger-knitting and have really wanted to add something new to the Five Fabulous Finger-Knit Progect series. This garland is easy and fun for kids to make. Finger knitting makes a nice, textured strand for hanging things. A similar strand could be used for many different kinds of garlands. Or, you could deck out an entire room in just a strand of black finger knitting–great for Halloween. I think it would make for a fabulous spider web–with lots of creepy spiders stuck in the strands! Ohh, I think I have next year’s project! For more fabulous finger knitting ideas, check out this gallery here, or by clicking this button:

Here is the tutorial for the garland below:
Materials:
black yarn
scraps of black fabric
stuffing (I used leftover tulle bits from costume making)
black thread
needle
pinking shears
scissors
small elastic (not necessary but makes life easier)
Finger knit a chain with black yarn. For instructions on how to finger-knit, go here.
Cut desired number of five-by-five inch squares of black fabric with pinking shears. Ball up small amount of tulle or other stuffing. Make the ball about an inch in diameter and place stuffing ball in the middle of square of fabric.
Scoop fabric over ball (head).

Secure an elastic over the head. This step isn’t entirely necessary. You could go straight to tying with the yarn, if you want. The elastic just holds the shape of the head easily while you tie the yarn around the neck. If you found black elastic, you could skip the yarn step altogether, if you want.

Tie a piece of black yarn around the neck of your ghost.

Thread your needle with black thread. Bring the needle up from underneath the bottom of the ghost and through the top of the head.

Leave a loop at the top of the head and bring the needle back through the top of the ghosts’ head.
From underneath ghost, line up the two ends of thread and tie in a simple knot.
Now you have your first ghost. Repeat process as many times as desired. Vary the length of thread you use, so the ghosts don’t all hang at the same height. I made around a dozen ghosts.

Add your ghosts to the line of finger knitting by attaching like you would attach a tag. Wrap the loop around the strand of finger knitting and pull the ghost through the loop. This way you will be able to adjust the positioning of the ghosts as you see fit.

Hang as desired.

I’m a huge fan of this cheery, though black, collection. Bonus, I think it will last balled up in the decorations box till next season too!

This is easy enough to whip up in a short period of time. Do it this weekend! Happy Halloween!

Leave a comment

This site is protected by reCAPTCHA and the Google Privacy Policy and Terms of Service apply.

All comments are moderated before being published.

Read more

A Custom DIY IKEA Kura Bed with PANYL
bed

A Custom DIY IKEA Kura Bed with PANYL

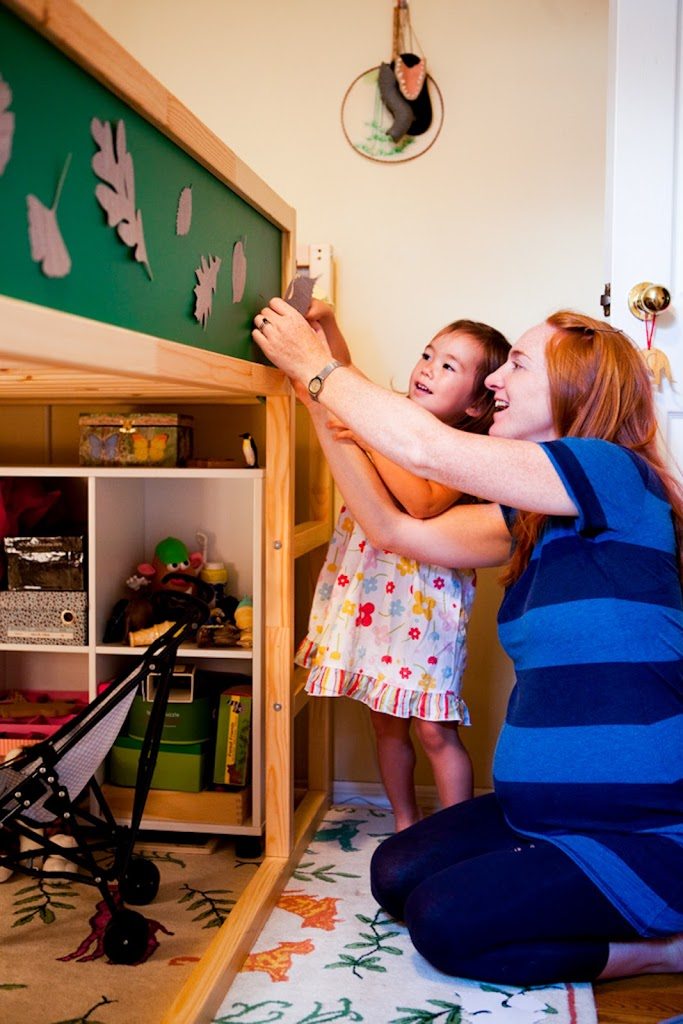
I’m so excited to share a fun guest post from a great and talented friend of mine, Lucy Schaeffer, a stunning photographer! Please go check out her work! Well, with the “new” old house in my life...

Read more
One-on-One Walks
life & design

One-on-One Walks

I don’t know how many of you have more than one child, but it can be challenging handling five feisty personalities in one family (and, yes, I’m including myself!). My three kids are so close tog...

Read more