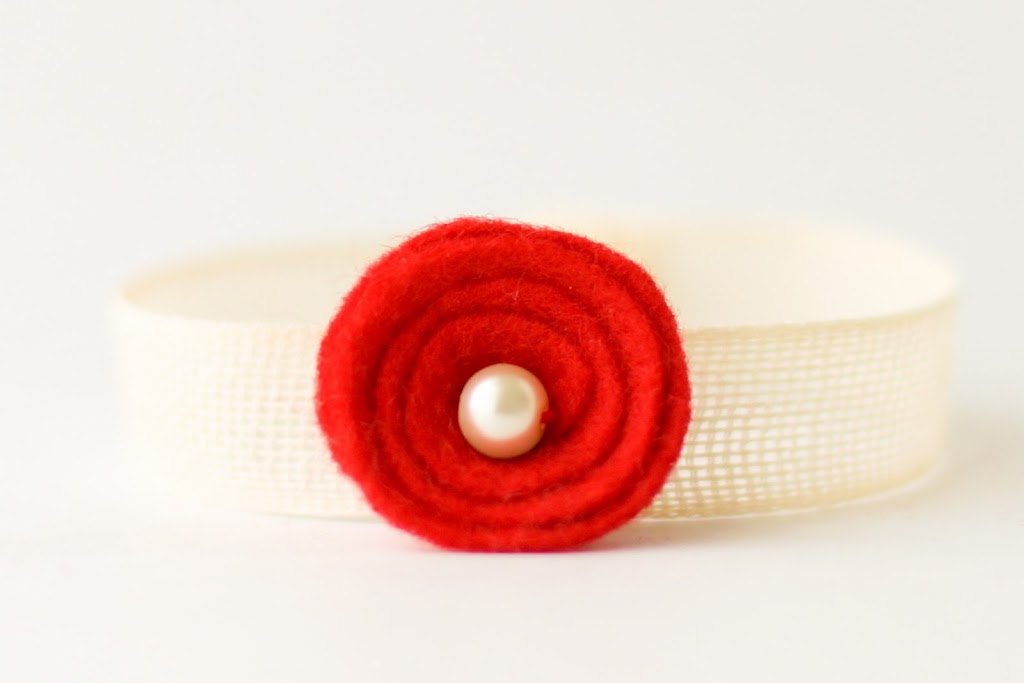
Oh, what can I say about this one? I love it. I don’t know if its the sparkle, or the robin’s egg blue, or the delicate white ribbon, but I just want to put it on. Part of me is sorry that I didn’t post this one sooner, so you all could have made this as a xmas gift for someone you love. Part of me is sorry that I didn’t make a bunch of these for loved ones, myself. Well, how about a New Year’s gift, or a just-because gift, or do-it-with-your-daughter over the week after Christmas craft? In fact, take the time to craft many of the
pieces in the collection and you’ll be all glammed up and well-entertained!

Actually, I do know a big reason that I like this pendant. When I first designed it, I did the pendant as a tear drop. I kept looking at it thinking, I don’t like it. I should like it. I don’t like it. . . I even went so far as to start taking the tutorial photos for the tear drop pendant, with resistance the whole time. It never ceases to amaze me, however, how one little design tweak can change your feeling about something altogether. All of a sudden, with no warning, I just cut the top off of the tear drop and it happened. That place in my gut that warms fiercely when I love how something looks started to glow.
Yep, I love it. This definitely is one of those pieces that makes my making-place hum. I hope it does for you too.
For more pretty jewelry ideas, check out
the gallery of glam that I’ve been posting all through December by clicking below.

Materials:
Time: 40 minutes
Cut TWO approximately 1" diameter circles of 100% wool felt. I used the inside of an electrical tape spool as my guide.
Cut enough rhinestone trim to outline your circle. In my case, it was 10 connected stones.
Sew rhinestones to the felt by stitching in between each stone, bringing the needle up and down as close to the attachment point of the rhinestones as possible. There will be two rhinestones that won’t be attached, as that was where the trim was cut.
With craft glue, glue the two unattached rhinestones to the felt to be in line with the remainder of the circle.
Now, you have a circle with the rhinestones fully attached.
Cut your 36" of 1/8" ribbon in half. Fold down approximately 1/4" of the ribbon.
Attach the ribbon to the back of the necklace, bringing the needle up in the same area in which you attached the rhinestones. I bring the needle down across an attachment point in between rhinestones and through the felt and ribbon.
Finish off the thread and trim the excess ribbon from the folded tail. Repeat adding the ribbon on the other side, such that the ribbons are at approximately 10 and 2 on a clock face.
Apply glue to your other 1" circle. The two circles should be identical in size.
Apply the felt circle to the back of the pendant to stiffen the backing and to hide your stitch work.
Finis!

Oh dear, tomorrow is the last day – I am awfully sad and awfully excited at the same time. There’s a great project for tomorrow, but its hard to believe the series is almost done. This has been such a rewarding experience. I hope you all have enjoyed it as much as I have.


Leave a comment
This site is protected by hCaptcha and the hCaptcha Privacy Policy and Terms of Service apply.