DIY Gold Ring Necklace - a year of handmade gift

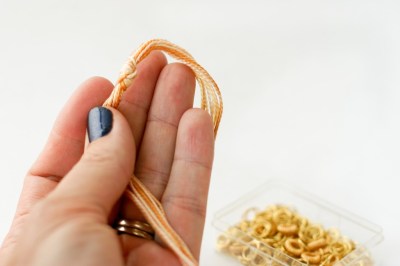
Measure 156 inches of the six colors of thread. Cut the strands in half.
Place the two lengths side by side, you should now have 12 strands together that measure 78".
Thread the 12 strands on to a darning needle.
Tie a simple knot about 6 inches in from the end.
Move down the length of embroidery thread about 3 inches and make another double knot.
Now, string on more beads and rings. As you do each section, add the beads in a random pattern, sometimes only jump rings, sometimes with two gold ring beads, sometimes none at all.
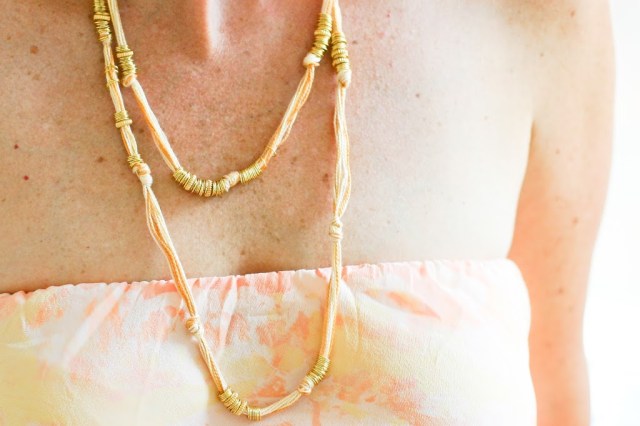
At the end, you should have a strand that looks something like this below.
You can finish the necklace with jewelry fixings if you’re so inclined, but I always like to make it pretty quick and easy. To complete the top, I made a slipping knot that can adjust the length of the necklace easily. Overlap the two ends. With left hand end, tie a square knot around the right hand end.
Then, tie the same knot with the with the right hand end, around the left hand end. It sounds more complicated in words – look at the photos.
It should look like below. Trim the ends on each knot. You can shorten and lengthen the necklace by pulling the knots further away from each other or bringing them close to one another. In this manner, you can also wear the necklace as a bracelet and pull the knots apart while it is on your wrist to tighten the bracelet.
This photo is blurry, but I included it so you can see what it looks like when the knots are kissing and the ends are trimmed.
FINIS!! You can wear it doubled, or straight or around your wrist, too!
Happy making! Here’s a snap shot from my Miami trip of my lovely friends, whom I adore. If I don’t post for a while, send someone looking for me, as one of my friends may kill me for posting a photo of them in their swimsuits.
xo anne


Leave a comment
This site is protected by hCaptcha and the hCaptcha Privacy Policy and Terms of Service apply.