


Relaxing Morning Routine + DIY Travel Mug

As you all know, I’ve been thinking a lot about what is essential in my life. I’m trying to cut back on the busy work and focus on enjoying my days, with my children and with my work, in a more present way. A big part of that has been developing a relaxing morning routine.

For me, this means more time outside. This spring, I’ve refreshed my morning routine in a way that is making me so happy right now. After I get the kids off to school, I kick my day off with a slow walk about my garden with my coffee.

The light and the air all feel so fresh first thing in the morning. The atmosphere holds so much promise for the day. Doing this for just 15 minutes makes me feel centered and calm amid my harried thoughts.

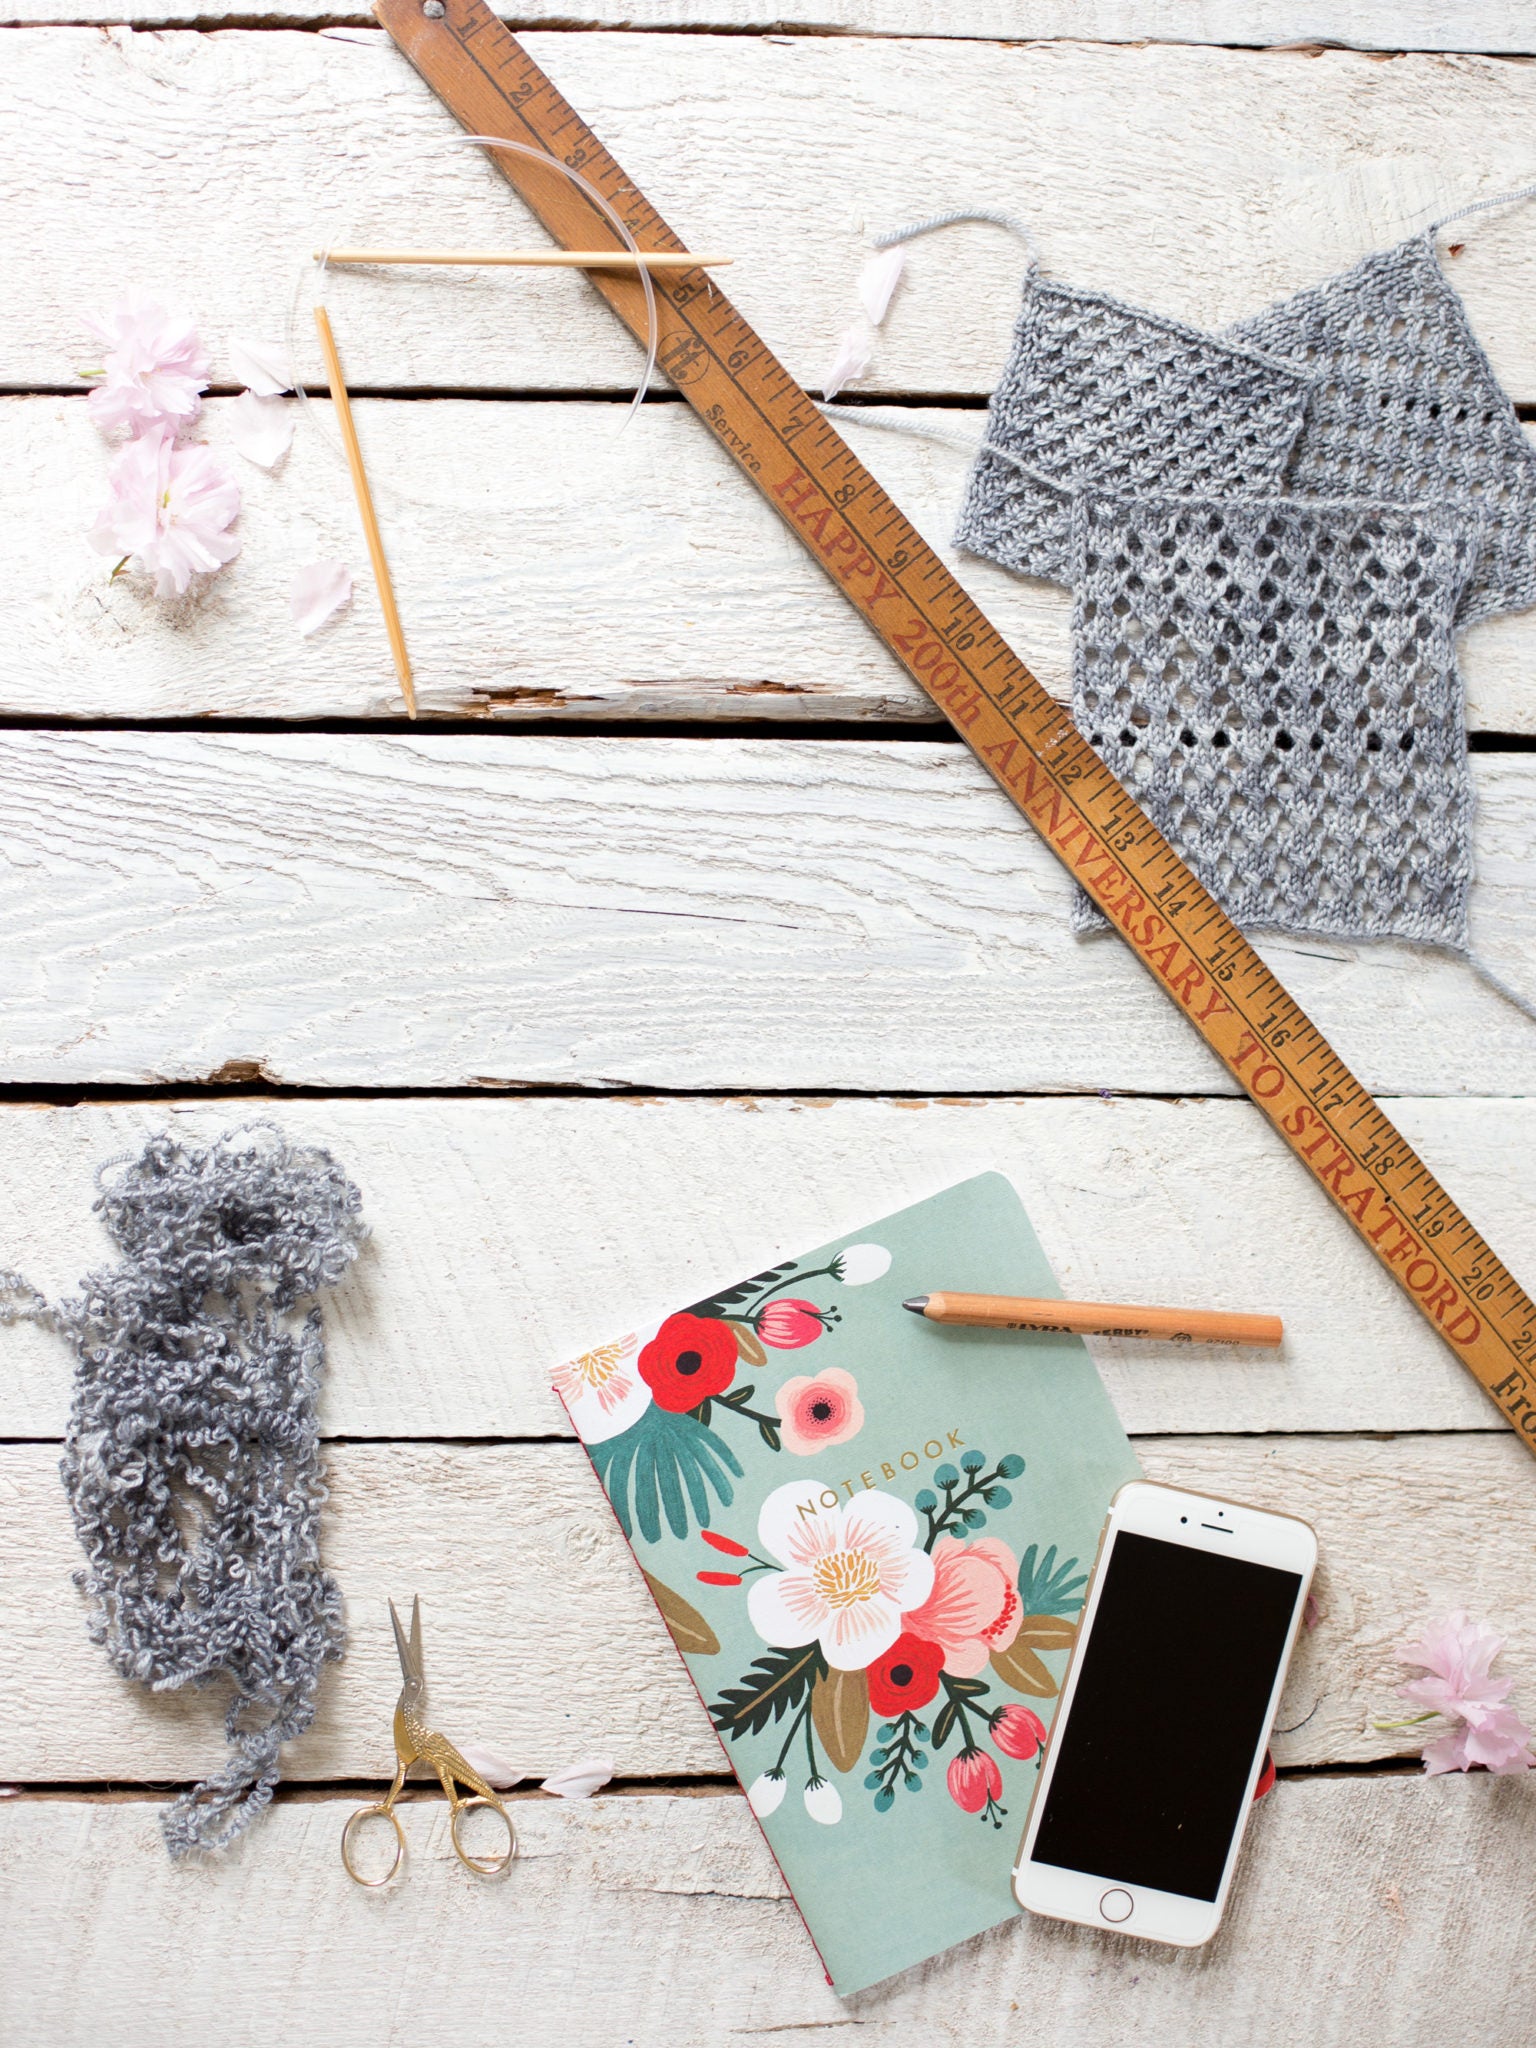
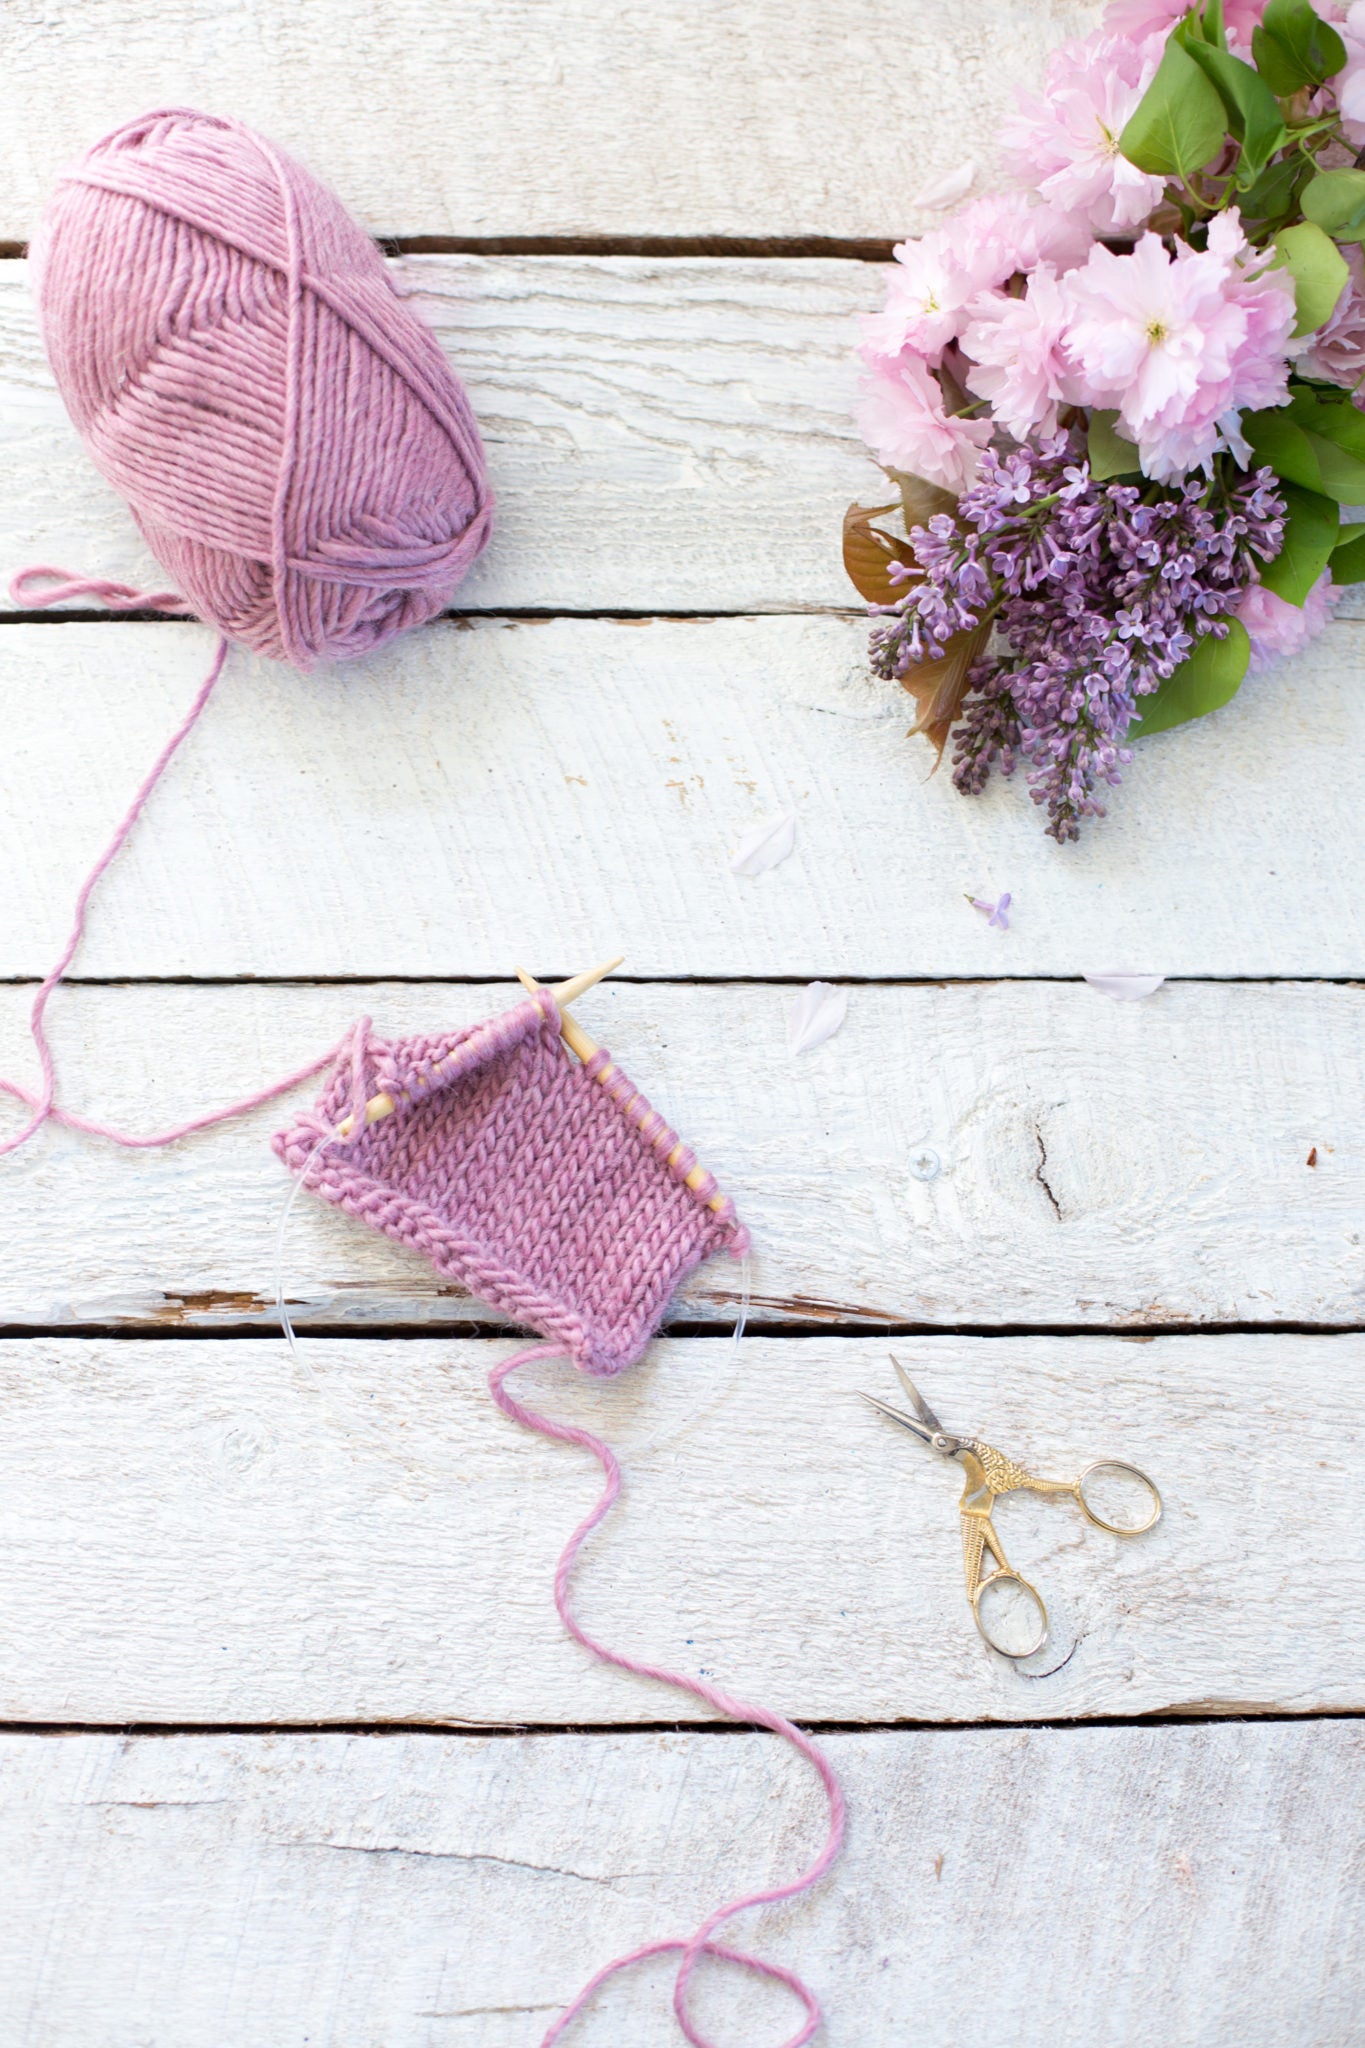
I also use this morning walk about as a way to gather beauty outside and bring it in. Flowers, especially when they’ve come from my own garden, bring me so much joy.

A trick I use for cleaning my flower vases in between arrangements is Arm & Hammer baking soda. All you have to do is shake a teaspoon of baking soda onto a damp sponge, wipe the inside of the vase clean, and rinse. Baking soda is also great for getting ground-in dirt and grime from the garden off your hands. Add 3 parts baking soda to your liquid hand soap and you have a great gentle exfoliant without harsh soaps.

You can regularly see the results of my garden forages in my Instagram feed, along with other crafty goodness, of course! I’ll tell you, all these gorgeous blooms, there are some serious benefits to Baltimore living.

To celebrate my new relaxing morning routine, I made myself a beautiful DIY stenciled travel mug. I love it. It is a double-walled ceramic cup with a silicone lid, called “I am not a paper cup . . . “. I used Martha Stewart adhesive stencils and tape to give it a little gold star pizazz. Bonus, its double walls mean my yummy, Spring, iced coffee doesn’t get drippy as I walk around.

DIY Stenciled Travel Mug

Materials
Ceramic reusable coffee mug
Craft paint in gold
Foam pouncers
Adhesive stencil set

:: Moisten foam pouncer with paint little by little. Do not soak it in paint. Tap up and down until the pouncer is barely applying paint. If the pouncer is too wet, the paint will sneak under the sides of your tape or stencil.
:: Tape off areas you want to have color. Make sure the tape you are using is pressed tightly and smoothly against the surface you are going to be painting. Press directly up and down with the pouncer taking care that the pouncer does not go on the far side of the tape. Anytime you go to refill the pouncer with paint, make sure that its not too wet when you move back to your project.
:: After the paint dries, slowly peel the tape back.
:: Apply adhesive stencil to desired area pressing firmly on the stencil to ensure that it is against the cup with no gaps. Use the pouncer to apply desired paint.
:: Once the first stencil is dry, apply the next stencil. Again, take care that your pouncer doesn’t go over the edge of the adhesive stencil
:: Let dry and enjoy. You may want to apply a spray sealer to ensure that your design lasts as long as your cup does.
Don’t forget to take some of that slow down time for you. Your brain and creativity need it!
This post is sponsored by Martha Stewart Living, however all thoughts and opinions are my own.
Leave a comment
This site is protected by hCaptcha and the hCaptcha Privacy Policy and Terms of Service apply.