My nephew Conrad just turned six. He has an easy smile and a warm and loving way about him that is absolutely charming. He’s sporty, but tender. Who can’t love a boy like that? He loves soccer jerseys, won’t wear anything but sports shorts, and lives his life as the fun-loving youngest of two strong sisters.
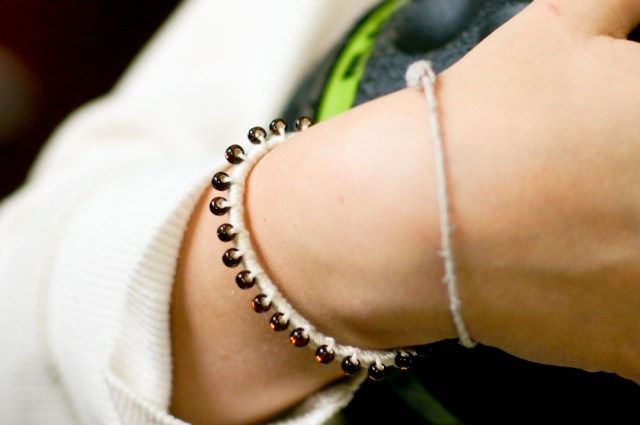
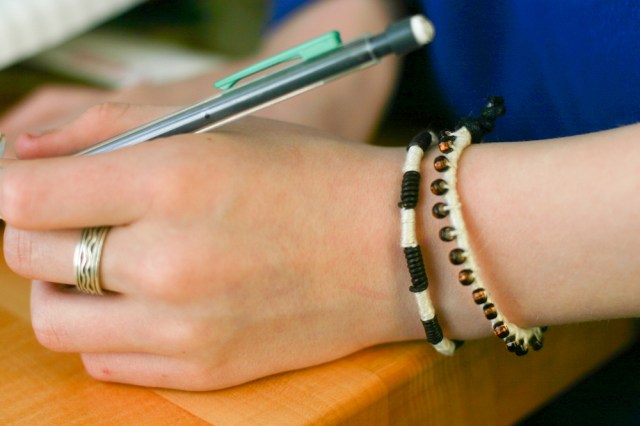
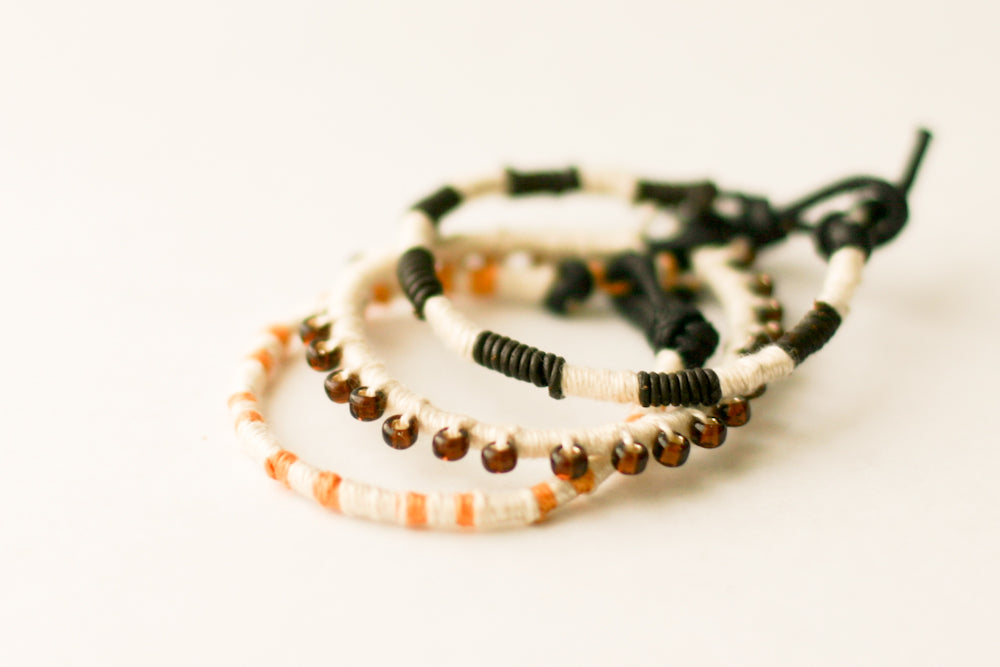
For his birthday, I wanted to give him something pretty, but also rugged. This is the bracelet I designed for him. It is a three part gift. For a while, I’ve been wanting to create a more casual set of jewelry than
my other collection–less girly and more down-to-earth. I want it to to be full of things that any boy or girl could wear and enjoy. This seemed a perfect way to kick it off.
I’m mad at work with leather, thread, stone and wire in my spare time, so these won’t be the last either. I love boys in bracelets, don’t you?
This bracelet gift for Conrad’s birthday is part of my commitment to make only handmade gifts this year. So far so good. In fact, I went to a 40th birthday party for one of my closest friends on Saturday night. Ack! I needed a handmade gift in a 1/2 an hour. I whipped out this
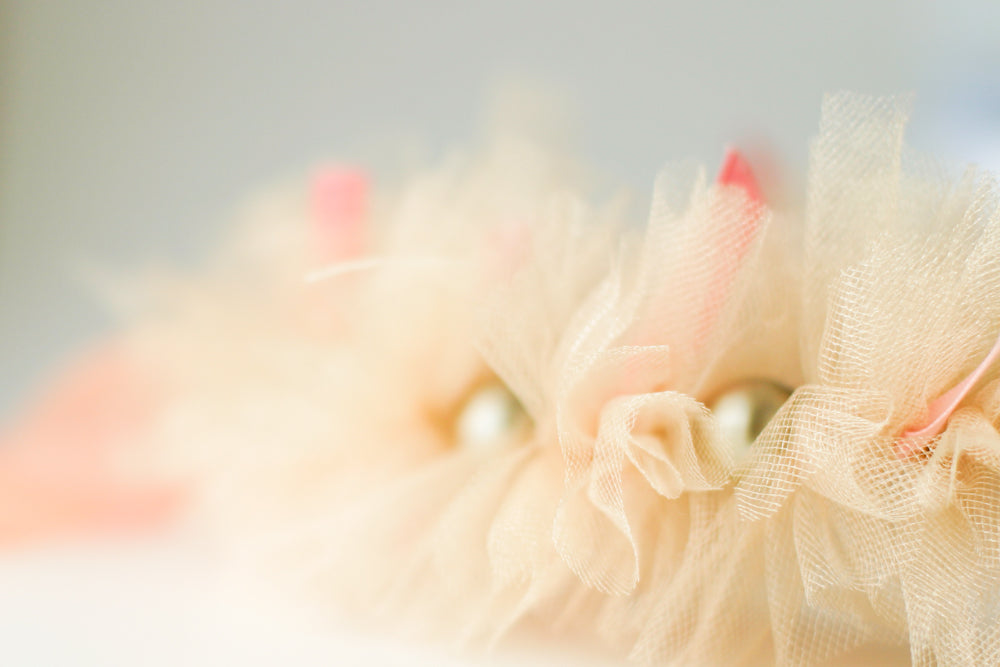
twisted pearl necklace in cream on cream and gave this
pearly white bracelet to her – she was so touched to have received a handmade gift. I started it at 6pm and had given it away by 7pm, so there are no photos to be had, unfortunately.
The diy for Conrad’s bracelet is below. If you’d like to see my other handmade gifts and their corresponding tutorials, click below or take a look at
the gallery here.
If you want to see the more girly jewelry, click below or take a look at
this collection of jewelry diys:
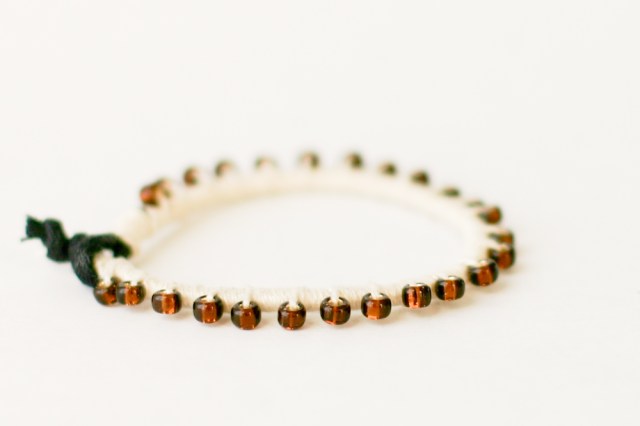
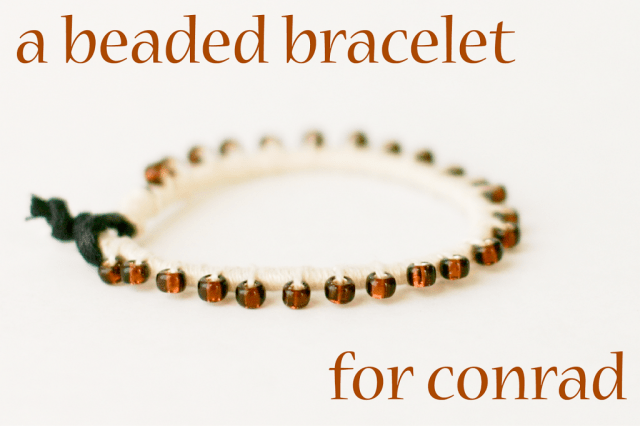
Here is the diy tutorial for Conrad’s beaded bracelet:
Materials:
Bead of choice
DMC 5 embroidery floss
Leather or faux leather cord
String approximately 25 to 35 beads on the embroidery thread.
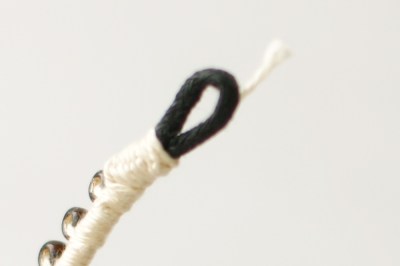
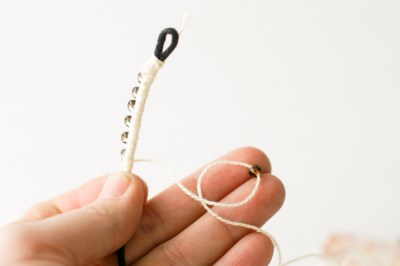
Loop one end of the leather cord. Pull the embroidery thread through the beads further, letting them stay close to the skein of thread. Using the thread that extends between the beads and the bracelet, secure the leather loop by wrapping it multiple times with a twisted loop of the embroidery thread. Note how the tail of the thread goes under the thread coming directly from the bracelet. Pull tightly.
Repeat this twisted loop of the embroidery thread multiple times, pulling tightly on the embroidery thread to make secure. The top should look something like this.
I’m going to show you this process in the middle of the bracelet, but its the same at the beginning and for each bead you put on the bracelet. Start by pulling up one of the beads.
Twist the loop such that the tail of the thread is underneath the thread coming from the bracelet.
Bring the loop over the end of the bracelet and tighten around the leather cord. Adjust the bead and thread to lay nicely.
In between each bead that you put on, twist the thread around the leather cord the same number of times. I wrapped the thread around 10 times. Push wraps snugly against the prior beads and wraps.
Continue this process, placing a bead as described above and then wrapping the cord with the floss the same number of times between each bead until the bracelet is the length you want. Remember to push the thread and bead snugly towards the beginning of the bracelet each time.
To finish, repeat the tightly twisted loops (instead of wraps) the way you did at the beginning to secure the end of the bracelet.
Put on multiple twisted loops to secure.
Next tie two knots in the end of the leather cord such that the beginning leather loop can fit over the knots to close the bracelet.
Finis!
I hope your little guys and gals enjoy this bracelet. Make on! and Happy Birthday to Conrad!










Leave a comment
This site is protected by hCaptcha and the hCaptcha Privacy Policy and Terms of Service apply.