


Arm Knitting How-To Photo Tutorial // Part 3: Binding Off


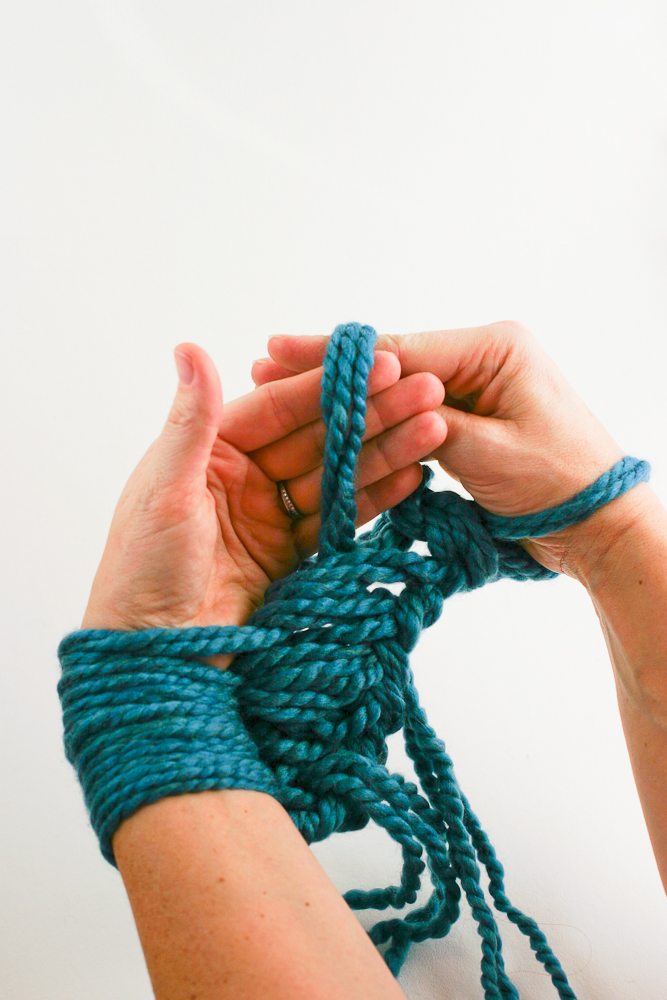
// Knit two stitches on to your right arm.
// With your left hand, pick up the first stitch you knit on your right arm.
// Pull that first stitch over the last stitch you knit.

// Knit the next stitch from your left arm. You should have two stitches on your right arm again.
// Pick up the first stitch on your right hand again.
// Pull it up and over the stitch you just put on.
// The stitches you bind off will chain with one another over the top of the fabric.

Ending it:

// Remove the last loop from your arm. Loosen loop a bit so the stitches won’t pull out. Lay down your piece.
// Cut the working yarn with enough yarn to seam your project (you need approximately 1.5 yards to seam the cowl).
// Bring the end of the yarn you just cut through the loop that remains.
// Tighten the loop. It’s ready to finish!
Only one thing left!
Part 4: Finishing
The finishing tutorial will include a tutorial on mattress stitch seaming (which is what you need if you are making the cowl) and other finishing details (if you are just making a scarf or something else). The mattress stitch creates an invisible seam on the right side of the knit fabric – so great! It’s super easy to do and you’ll use it for all sorts of other knitterly goodness, too!
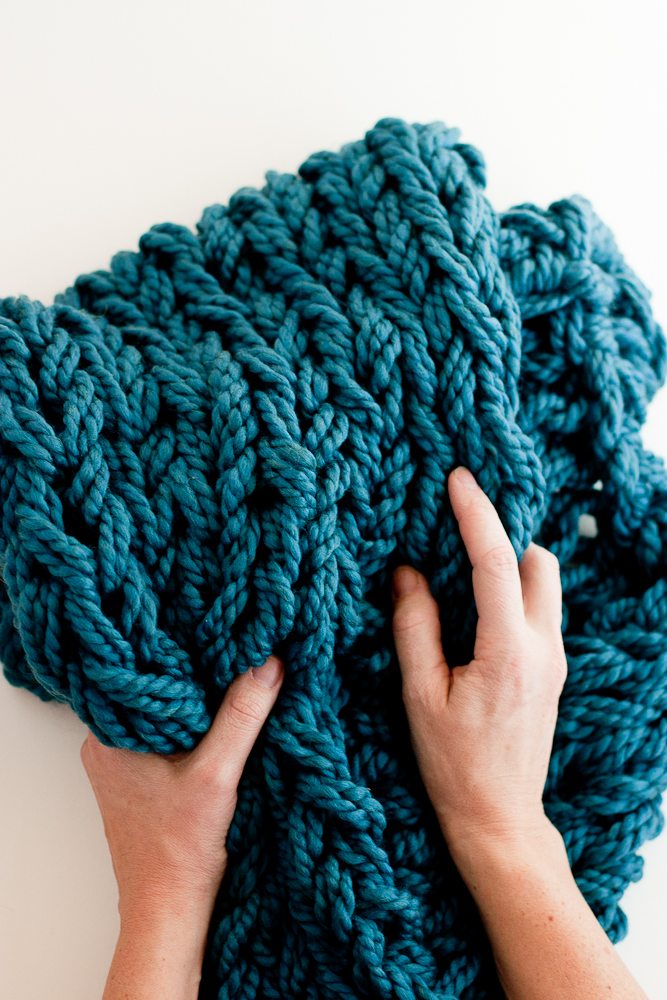
Look at this beautiful fabric. I want to dive into it!

Leave a comment
This site is protected by hCaptcha and the hCaptcha Privacy Policy and Terms of Service apply.