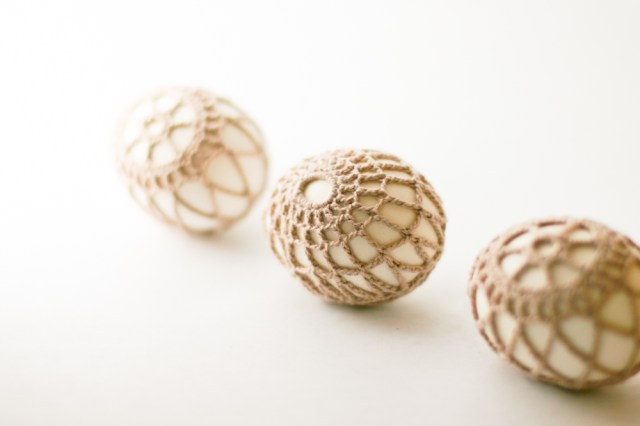
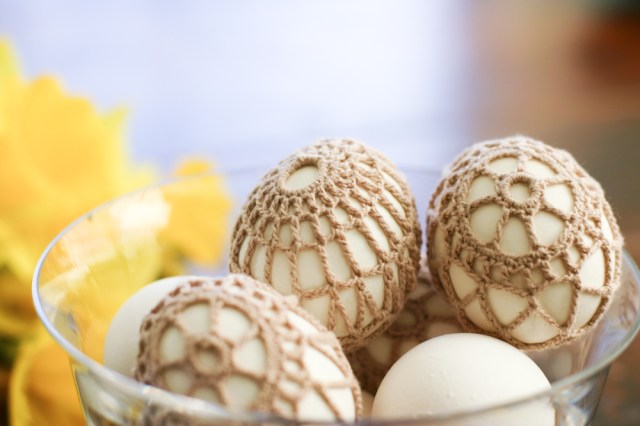
Crochet-Covered Easter Eggs –a DIY tutorial
I have not quite figured out how to read or create a crochet chart at this point, so I apologize to those for whom chart patterns is the way they work. And, being a newbie to crochet pattern writing, if any of you experts out there see a way to improve my patterns, please do let me know.
UPDATE! Strangely, some people have had a hard time seeing anything below this point in the post though I see them from every computer/browser combination I’ve tried. Still, if the directions are not visible or available, you may email me at flaxandtwine (at) gmail (dot) com and I will happily email you the pattern. xo anne
I had a ball making these. I love gaining skill in a new craft. Hope you all give them a try! Here is the pattern for The Helm’s Egg.
Round 1: Make a chain 10 sts long. Join the chain with a sl st to form a circle.
Round 2: Chain 1 sc through the center of the circle 14 times. Join with a sl st.
Round 3: Ch 10, *skip one st and tc in next st, ch 5, repeat from * until beginning, sl st through 4th chain of first ch 10 made.
Round 4: Ch 1, *Sc in next 5 chs. When you get to tc from prior round, sc in that st twice. Repeat from * until beginning, sl st through first sc.
Round 5: Ch 5, *skip one st and dc in next st, ch 2, repeat from * until beginning, sl st through 3rd chain of first ch 5 made.
Round 6: *Ch 14, skip one st and sc in next st, repeat from * to end, sl st into beginning of round. If you are crocheting on the bigger side, or your egg is smaller, here is the place to adjust the pattern. To make the cover smaller ch 10 instead of 14.
Round 7: Ch 6 , sc in next space, *ch 10, sc in next space, repeat from * to end. To adjust your size, you can make these chains shorter as well.
Round 8: Ch 4, *sc in next space, ch 3, repeat from * to end of round. This will start to make a little pocket with your crocheted piece. Before this round is finished, try it on your egg to make sure it will fit. If need be, adjust the prior round to help it fit. About half way through, you should continue crocheting on the egg itself. Some of your stitches will be pulled more apart than others depending on how tight the fit is. Pull the end through the last loop. Weave in the loose ends.

tc: triple crochet
Round 1: Make a chain 16 sts long. Join the chain with a sl st to form a circle.
Round 2: Chain 1 sc through the center of the circle 20 times. Join with sl st.
Round 3: Ch 4, *dc in next st, ch1, repeat from * to end of round, sl st through 3rd chain of first ch 4 made.
Round 4: Ch 5, *dc in next st, ch 2 , repeat from * to end of round, sl st through 3rd chain of first ch 6 made.
Round 5: Ch 8, *tc in next st, ch 3, repeat from * to end of round, sl st through 4th chain of first ch 9 made.
Round 6: *Ch 10, sc in next stitch, repeat from * to end of round, sl st to complete round.
Round 7: Ch 4, *sc in next space, ch 1, repeat from * to end of round, placing the crochet piece over the egg to finish as you get to the end.
If you need to adjust this to fit the egg, try making Round 6 chain shorter or longer, or increasing/decreasing the chains in between the sc in Round 7.
Weave in all loose ends.







Leave a comment
This site is protected by hCaptcha and the hCaptcha Privacy Policy and Terms of Service apply.