


Day 5: A Flower Ring - a diy girls' ring tutorial
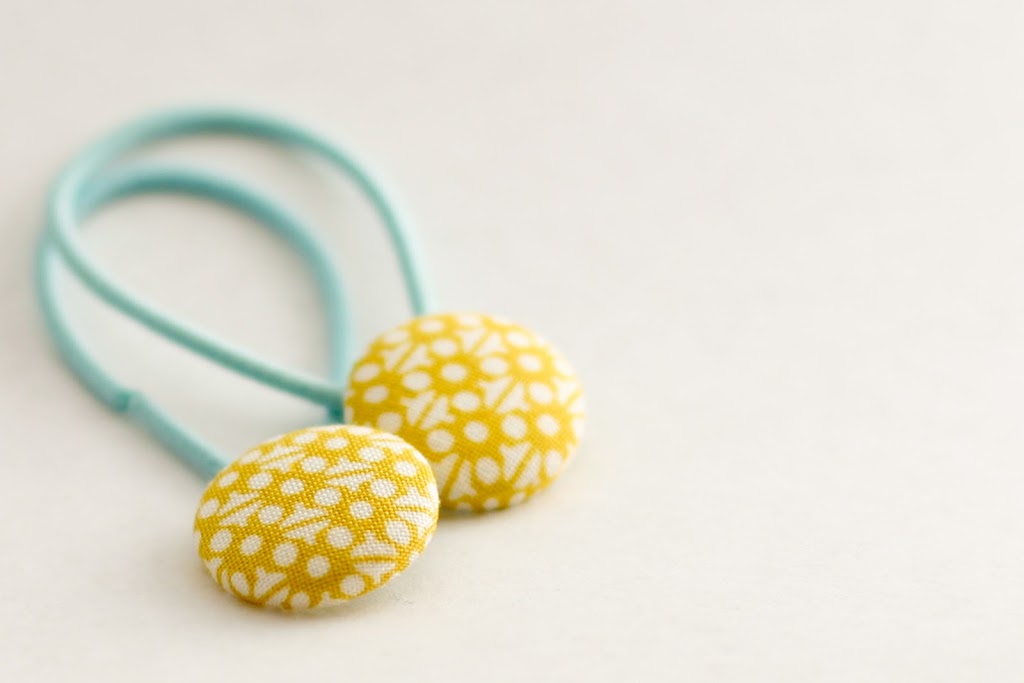
 Okay – I know I said the button hair bands were easy, but this one is even easier. I mean really easy. I love it though. This one is all about the button you use. Cute ones can be found so many places these days. I sometimes take buttons from Allie’s old clothes – always keeping my eyes out for treasures. She has these beautiful crystal ones on a yellow sweater that she is just getting too big for. The sweater is so well-loved (read stained everywhere) that I won’t even feel bad pilfering the buttons. This ring uses part of a hair elastic for the ring part–simple. The elastic makes it easy to fit, too.


Materials:
Cute button (I think these stars would be great. I also got the flower at Joann’s)
Needle
Thread or embroidery floss
Elastic headband
Time: 5-10 minutes

Cut a piece of the elastic headband to fit your child’s finger. Use an existing ring or ye olde yarn around the finger trick to get a measurement. My daughters’ elastic piece was 2 1/4". Make sure its big enough to not cut off circulation (i.e. it shouldn’t need to be stretched a lot to be put on).

Sew the piece of headband elastic into a ring with needle and thread.

Do a number of stitches to make sure it is secure – make sure you are stitching through the elastic part.

Tie it off underneath.

Sew on that pretty little button.

Tie it off underneath.

Finis! And, yes, I made myself a matching little number below. Its okay you can tell me, I dress like a girl.

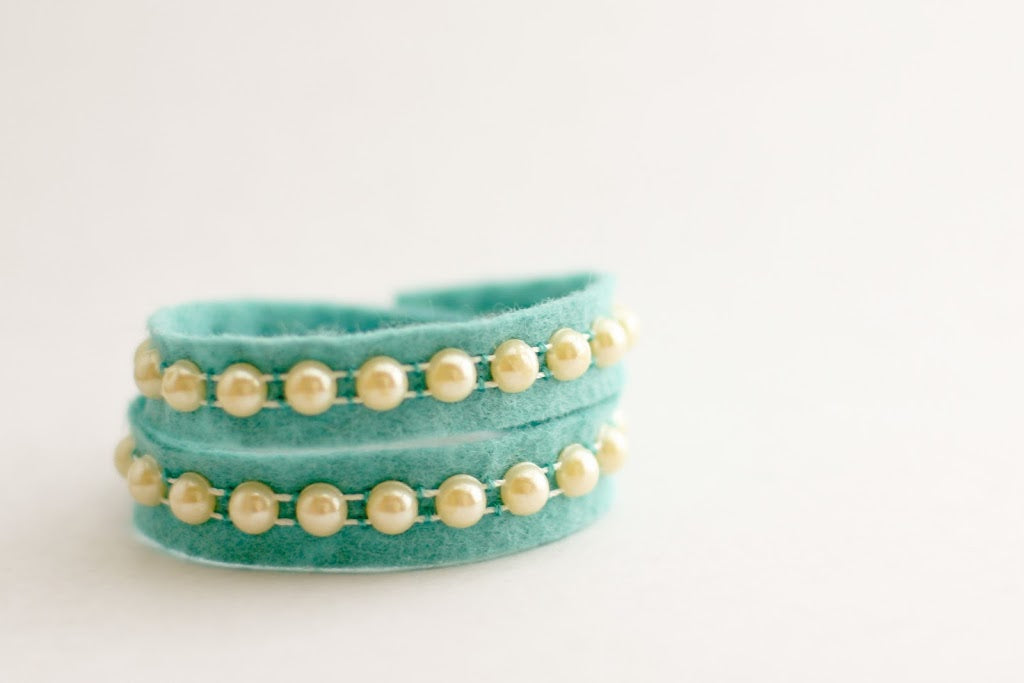
Tomorrow comes that awesome little pearl cuff pictured in my first post, so don’t miss it!
Leave a comment
This site is protected by hCaptcha and the hCaptcha Privacy Policy and Terms of Service apply.