Embroidered Christmas Tree Ornament

I love this sweet embroidered Christmas tree ornament. It makes a gorgeous handmade present topper to make that gift you’re giving extra special, but it can also be reused and loved every season as a favorite ornament.

The embroidery technique is lovely and can be used on its own or used to embellish all sorts of items. Top a ball jar of candied nuts with a felt square of this stitching pattern.
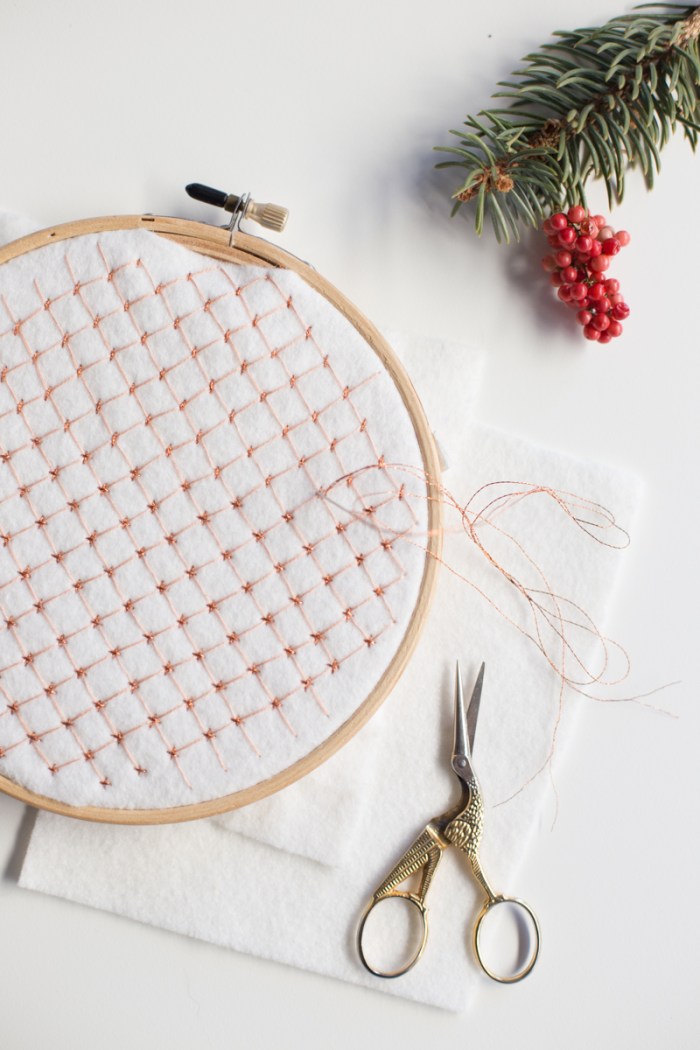
There’s no need to stop at just a Christmas tree ornament, but you could make a stocking or glass ball ornament with the same stitching pattern. The instructions are for making two of the trees, which is ideal – one for me, and one for you!

For other Flax & Twine ornaments, try this finger knit twine wreath or this crochet star. If you’re looking for wrapping ideas, try this wreath idea or these crochet toppers or this sparkly wrapping.
Embroidered Christmas Tree Ornament
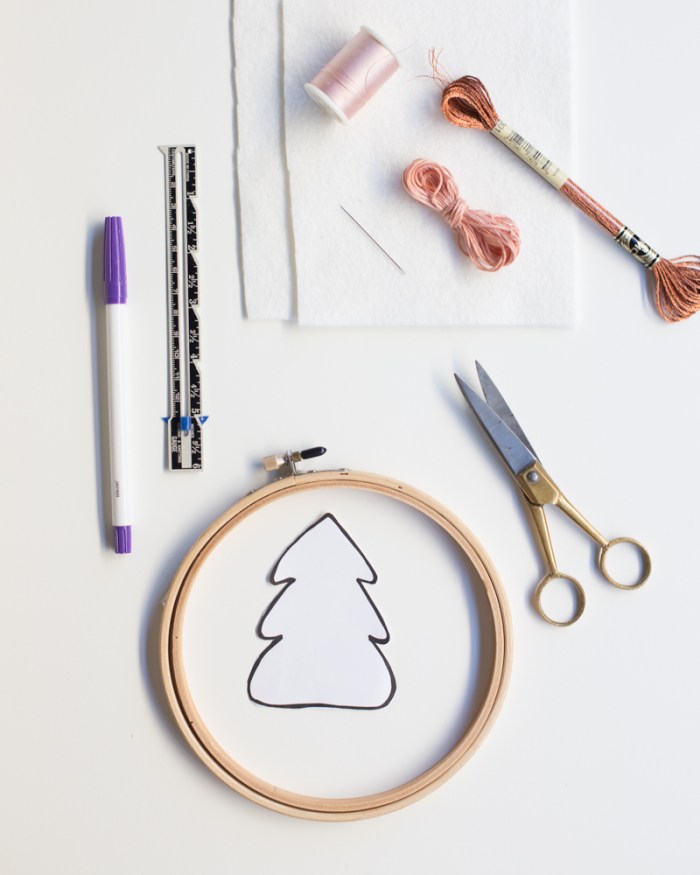
Materials (Makes two trees)
7" embroidery hoop
8"x 12" sheet of 100% wool felt
1 skein 6-stranded embroidery thread
1 skein copper metallic embroidery thread
Color-coordinating sewing thread
Stuffing
Embroidery needle
Scissors
Ruler
Air-soluble marking pen
Christmas Tree Template

To print tree template, right-click on image and “Open Image in New Tab,” then scale as desired and print. My template is 4 inches.
Embroider The Felt
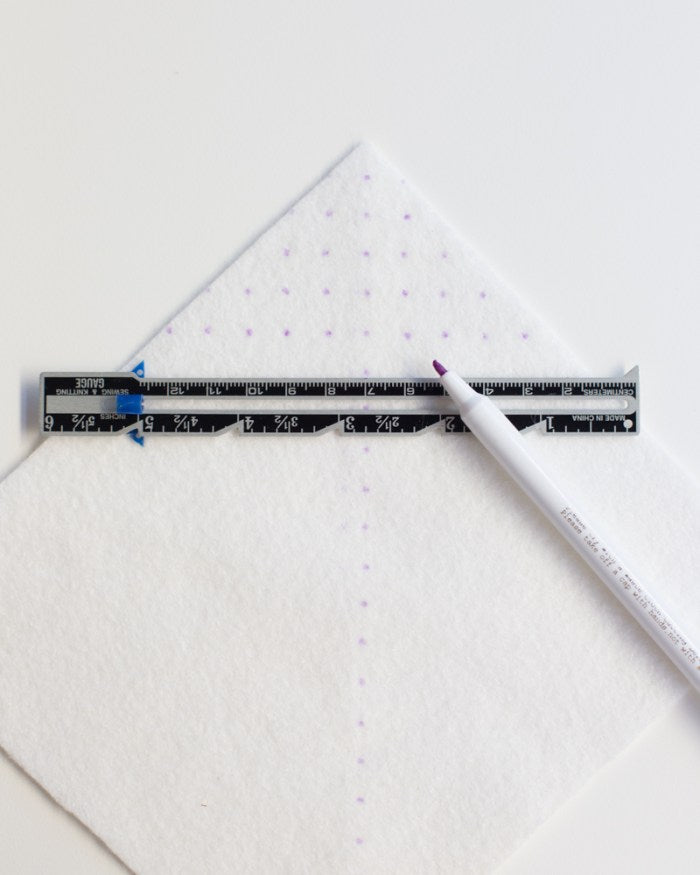
First, cut an 8 x 8" square of felt. Fold and crease your felt at the corner to get your starting line. Beginning at the corner of your felt, and using your ruler, mark a dot at every centimeter down the crease. Next, perpendicular to your centerline, mark across the felt in 1 cm intervals. Then, move to the next dot on your centerline and repeat marking until your felt is covered by a 1 cm grid.
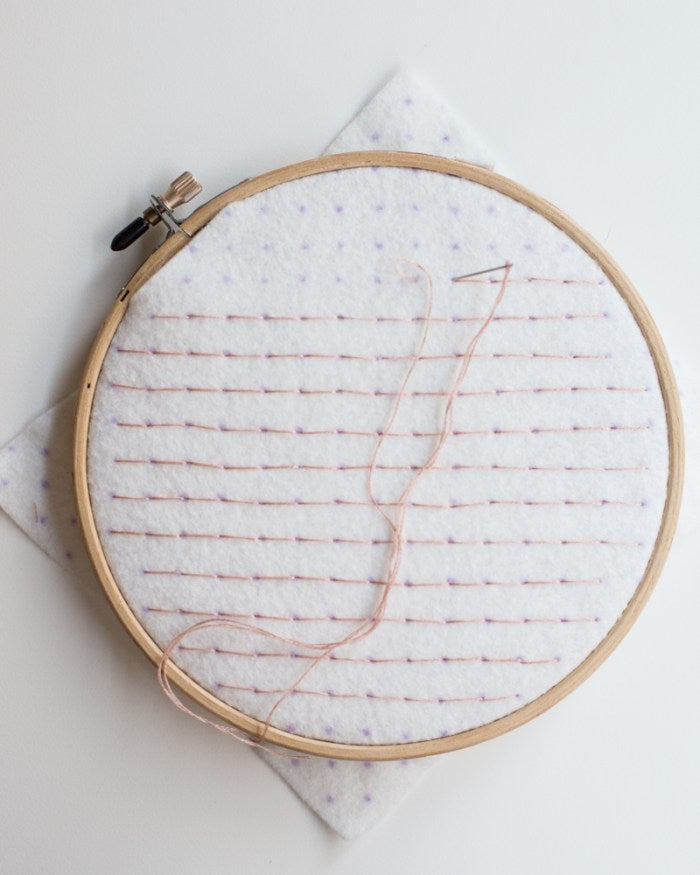
Place your marked felt into an embroidery hoop. With the non-metallic thread, using two strands of a six-stranded thread, back stitch in lines from dot to dot across the felt.
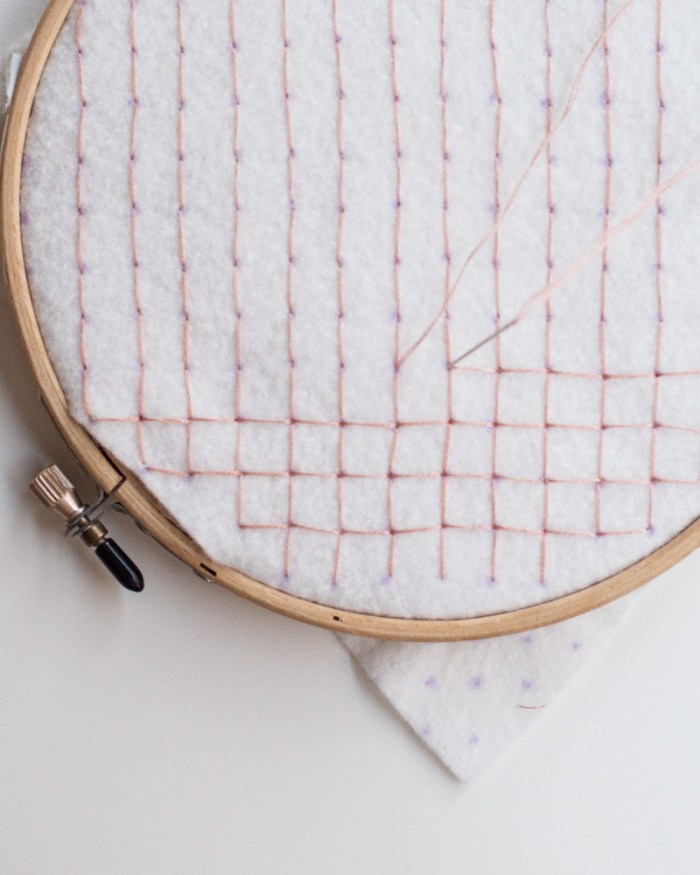
Next, turn the embroidery hoop 90 degrees, and backstitch from dot to dot in long stitches perpendicular to the lines just made.
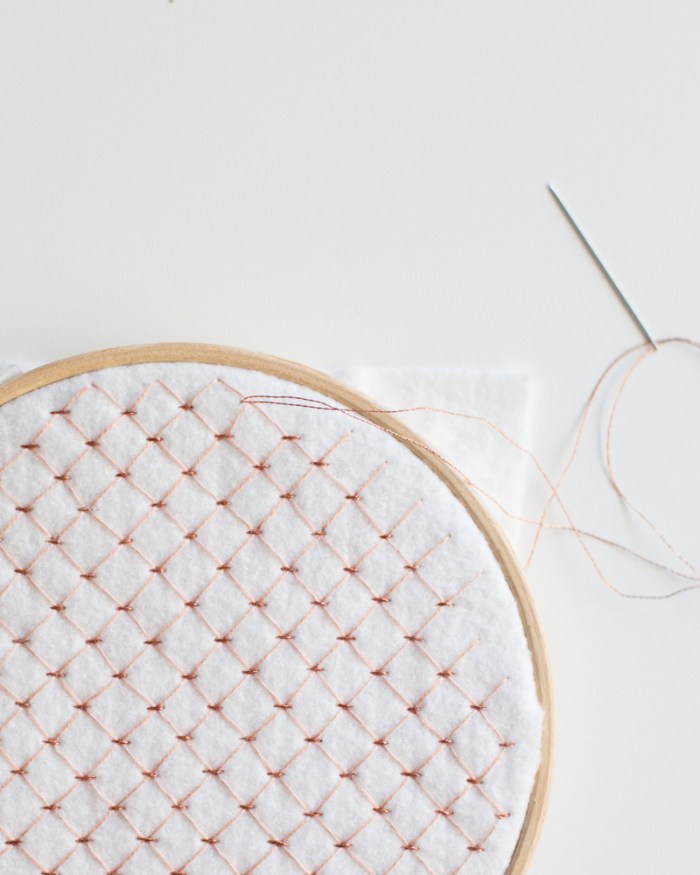
Using two strands of the copper embroidery thread, and working in lines, make a running stitch over each dot, or the intersection of your grid.
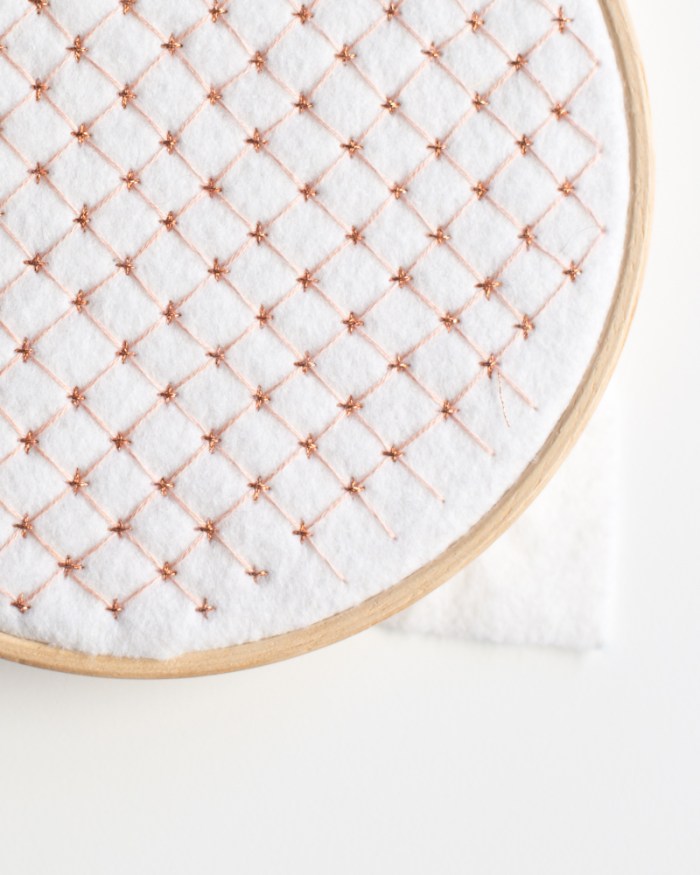
Rotate the embroidery hoop 90 degrees, and make running stitches across the small copper stitches just made, making a cross at each intersection.
Make ornament
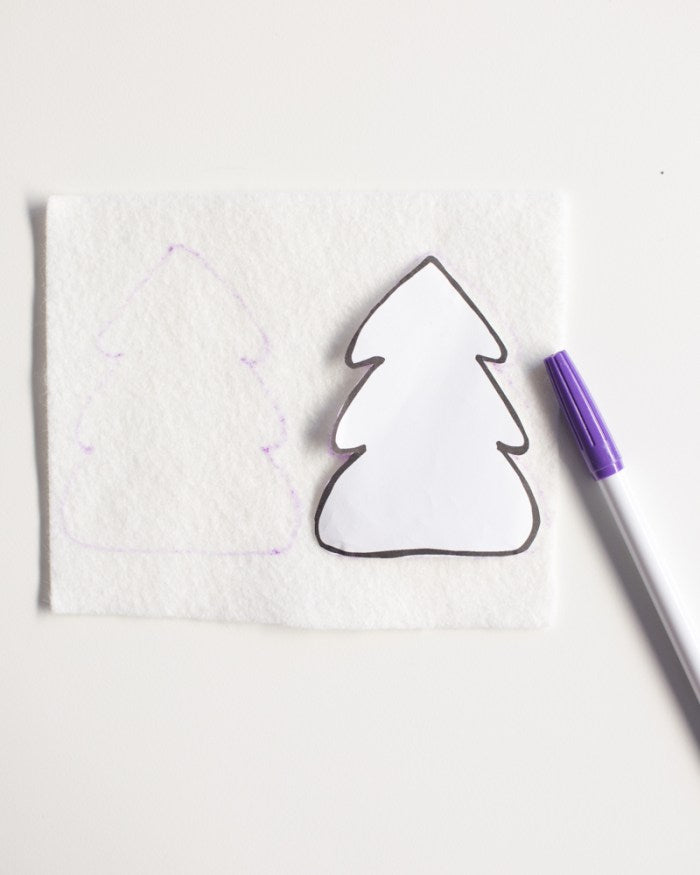
Using template, trace and cut out two backs from the wool felt.

Pin backs to the right side of the embroidery, aligning tree such that copper threads run up and down and straight across the piece. Using needle and sewing thread, take tiny stitches around tree shape, leaving the top open to turn inside out, stuff and add the hanger.
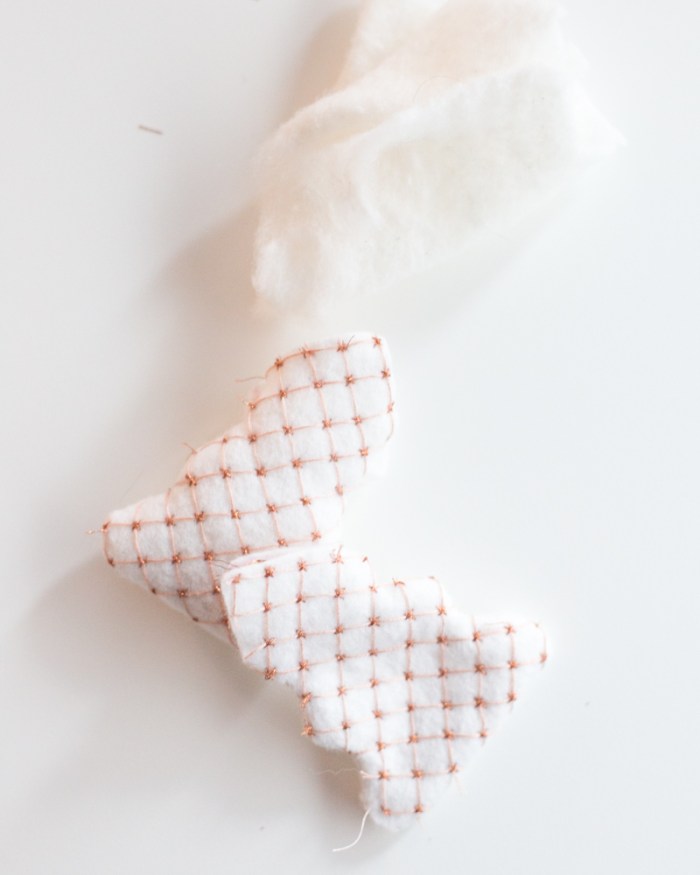
Turn the tree shape right side out, poking out branches. Stuff tree with polyester filling.

Create a hanger by braiding 7" lengths of the main embroidery thread. Insert knotted ends into the top of the tree. Fold in edges of felt, and pin into place. Use the ladder stitch to close the top of the tree and secure the hanger.

I hope you love your new embroidered Christmas tree ornament as much as I love mine. Now, I just need to decide who gets the other one.
This ornament design was originally shared over at Martha Stewart. Head over there to check out my profile for other projects contributed to Martha Stewart.





Leave a comment
This site is protected by hCaptcha and the hCaptcha Privacy Policy and Terms of Service apply.