Machine Sewing With The Kids
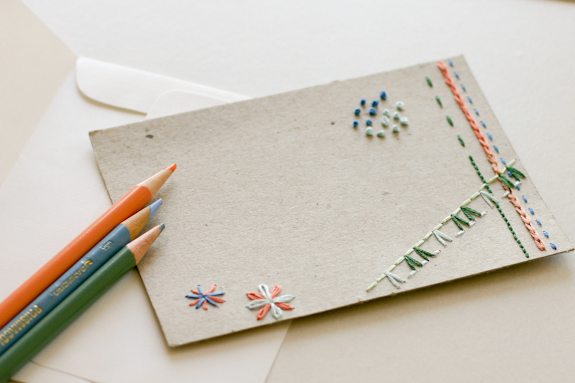
I’ve been sewing so much up in my attic studio lately, that the kids have taken to drifting up there and guess what? Begging to get involved. They’ve all asked me to teach them to sew ON THE MACHINE!! So, with some reluctance, I’ve been getting up, giving them a piece of fabric, and letting them work on “samplers” of stitches of all shapes and sizes. The boys love this, trying the zig-zag, the letters, the loop-the-loop, and stitch number 132.  I have to admit its been pretty fun. I’m learning all sorts of things about my machine, too. Oh, and if you can find a window covering store near you, go stalk it. They often leave out old out-of-stock fabric books that are a gold mine. They include great heavier fabrics for the the kids to play with, and best of all its free of the “but I really treasure that scrap of stash fabric so take your grubby hands off of it” guilt game.
Letting the kids use the machine makes me nervous, but I’ve made it clear what the needle could do – and they seem to have some natural fear for it . . . so off they go. This is how we do it: I choose one kiddo to stay with me and send the other two to their rooms to wait for their turn. We set a timer. Tooooo crazy in the studio to have three kids fighting over my beloved sewing machine. I put the machine down to its slowest speed. They stitch by themselves, their foot barely reaching the pedal, totally absorbed.
It wasn’t long before they all wanted to “make something.” My daughter (5) insisted that she use TWO pieces of fabric. She said that was the only way to actually make something. I didn’t argue with her, and I let her have at it. Entirely on her own, she created these: “Look Mama, finger puppets!”
Then, she insisted that she “make a stuffy.” With two pieces of fabric in her hand, she took off. I caught her just in time to leave an opening. And, again with the permanent marker–why do I let her use these??
Baillie (7) wanted to make a “wallet.” So I’ve created a little tutorial of what we did. We followed these simple steps for him:
1. Decorate a rectangular piece of fabric (say 4×6 or so) with lots of stitch patterns.
4. Turn it inside out. We folded down the top edge, tucked in the corners and sewed across the top to form a nice lip to the “wallet.”
5. Then, add a little square of velcro to create a closure.
I wanted to do this step and show you, but it was one of those (many) times that Baillie just didn’t want to wait. He didn’t want to add a fastener, and who was I to stop him, just for the sake of a completed tutorial. So, off he ran with his treasured creation. I’m waiting for it to turn up in the laundry.
Go spend some time with your kiddos at the sewing machine today. It may not turn out perfectly
But its sure to be fun . . .
Happy weekend sewing!


Leave a comment
This site is protected by hCaptcha and the hCaptcha Privacy Policy and Terms of Service apply.