DIY Polka Dot Custom Cake Stand

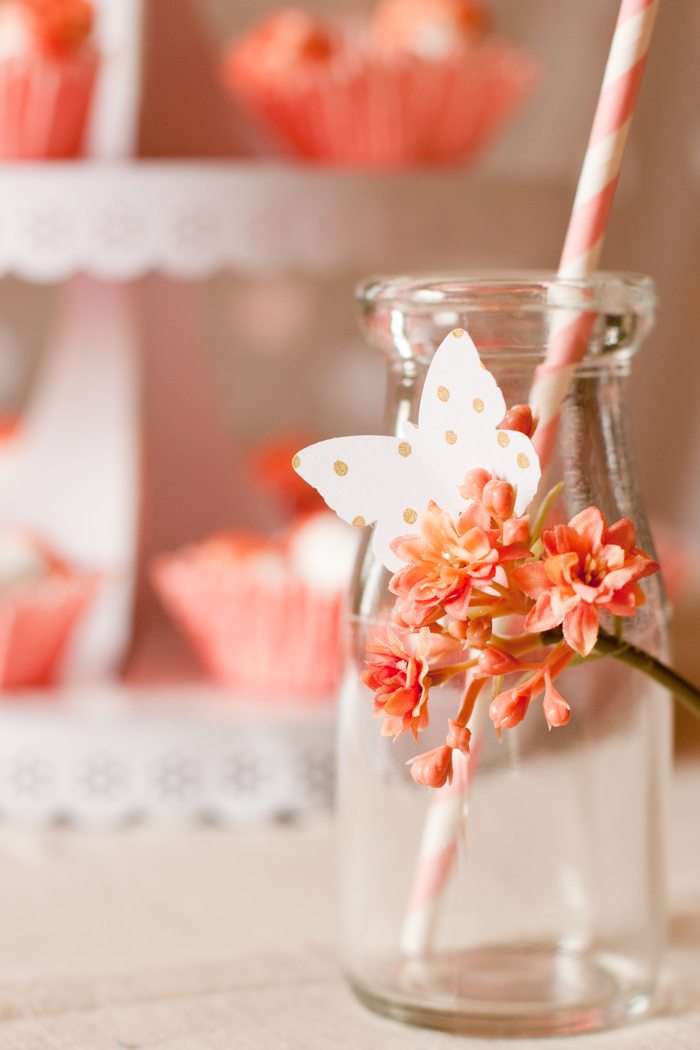
The Flights of Fancy Mother’s Day Brunch isn’t over yet. A couple more DIYs to share with you. Part of what made the party table fun was the custom cake stand, (it’s paper!). I decorated it to match the beautiful DIY hot air balloons. Boom! small effort, cool effect. Think of the endless customizable options you could implement with this cake stand on your side––gold glitter for a disco theme, neon paint for a black light Halloween party, go to town with washi tape, paint words on each tier, “Allie’s” “Sweet” “16”, for a birthday (eep! maybe not yet). For me, the gold polka dots fit the bill.

True, a paper cake stand is maybe not quite as good as vintage milk glass, but it’s still a great way to have a fun party element customized just for your party. Travel to your next event or school function with the cake stand flat and assemble on site. Wait for the crowd to ooh and ah–even if you fill it with store bought cookies! I served these baked donuts for Easter Brunch on the cake stand and folks went gaga over the whole thing. A cake stand makes everything more fun, don’t you think?

The cake stand was included in my #12MonthsofMartha box for this month (you can read about this team here). I’m excited to tell you that the brunch I put together was featured on Martha Stewart’s website! Go check it out. Additionally, the party qualified to be entered in a Mother’s Day Brunch contest amongst other fab bloggers, exciting! The gallery of the selected brunches, which are sure to be amazing, comes out in May, so keep your eyes peeled.

DIY Polka Dot Custom Cake Stand
Materials
Martha Stewart Doily Lace Cupcake Stand
Sharpie Medium Gold Paint Pen
Yes, it’s pretty much as easy as it looks. The layers and pieces all come in a flat package so there is some assembly required.
:: Use your paint pen to dot the layers of the cake stand.

:: The cardboard edges of the cake stand were unfinished. I ran the paint pen along the exposed edges for a more finished look.

:: The lace trim has adhesive. They secured nicely to the edge of the tiers. The ends of the lace pieces will overlap, making a seam. I would try to line these seams up so they all end up on one side and can face the away from the throngs. Not that anyone would notice, but me!
That’s it — easy to add the goodies. Just be careful though, because of the way its put together, 1/2 the legs of the cake stand pick up the whole thing, and the other half makes the whole thing fall apart! Ahh, the dangers of instant fabulousness! One more party post tomorrow.


Leave a comment
This site is protected by hCaptcha and the hCaptcha Privacy Policy and Terms of Service apply.