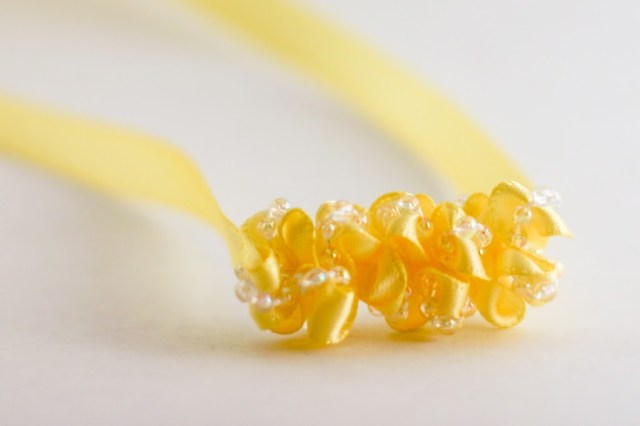
Day 7: A Crystal Ruffle - a diy ribbon necklace
I created all this jewelry in a mad frenzy over the course of three evenings. I didn’t want to stop to take photos of making, so I’ve ended up re-doing most of the pieces for the tutorials- usually wanting to try a different color to see how it looks. I love them both.
For all the other jewelry tutorials from this month, check out 24 Days of Glam page here.
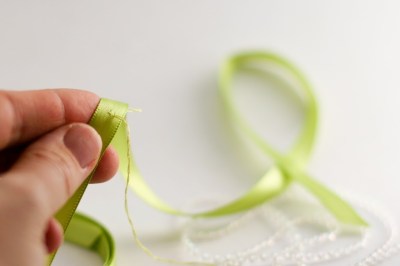
Start your thread approximately 14" along your piece of ribbon. I catch the end underneath my stitch a few times so I can trim the end and its secure.
Proceed to stitch every fifth bead to the ribbon from there, just once. You want the beads to lay nicely along the ribbon, not too taut or too loose. There is some lee-way here so don’t worry about it too much.
The back should look like this.
After you attach your 14" or so of beads, it should look like this below. Leave your length of thread loose for now. If you want a shorter ruffled piece, apply fewer beads. If you want a longer ruffle piece apply more. Maybe do the entire necklace of ruffle – might have to try that! Or, for a tighter ruffle, you could do every third bead instead of fifth, and see how it looks.
Now you want to grab your loose thread and start pulling it.
The ribbon should start to ruffle together like this.
You won’t be able to pull the whole thing through tightly like above. There will be too much tension on the thread. Scoot the ruffle out along the length of the thread, like this. And then pull some more.
Keep that process going until the ruffle is as tight as it can get.
Finish off your thread, by pulling the end through a stitch, keeping tension on the ruffle thread to make sure the ruffle remains tight.
Finis!


Leave a comment
This site is protected by hCaptcha and the hCaptcha Privacy Policy and Terms of Service apply.