Mock Cable Ribbing How To
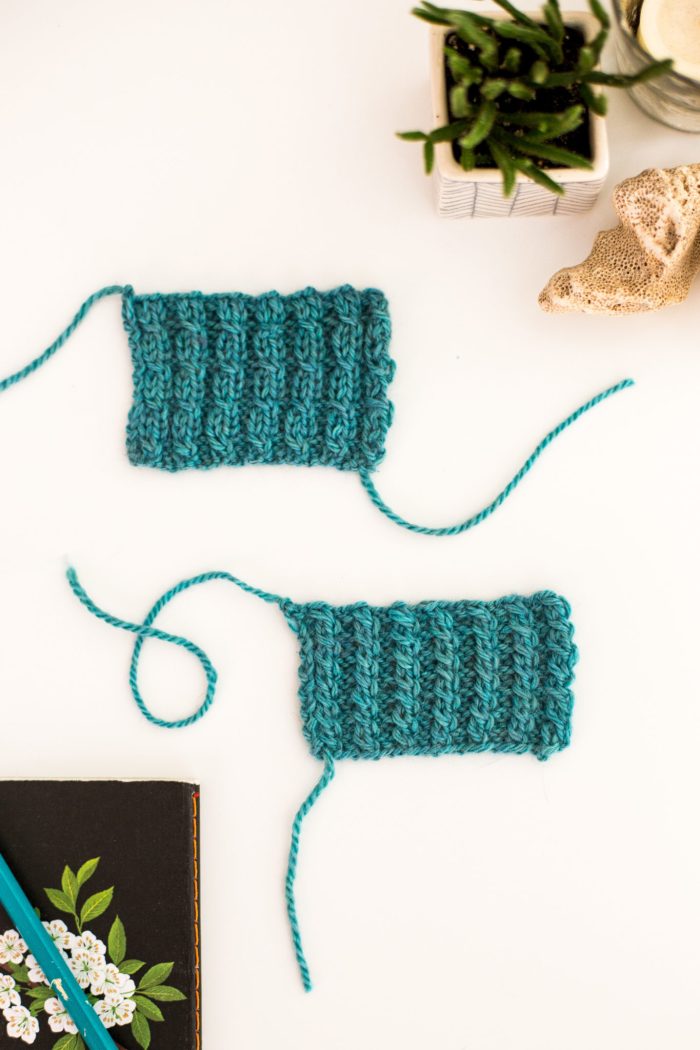
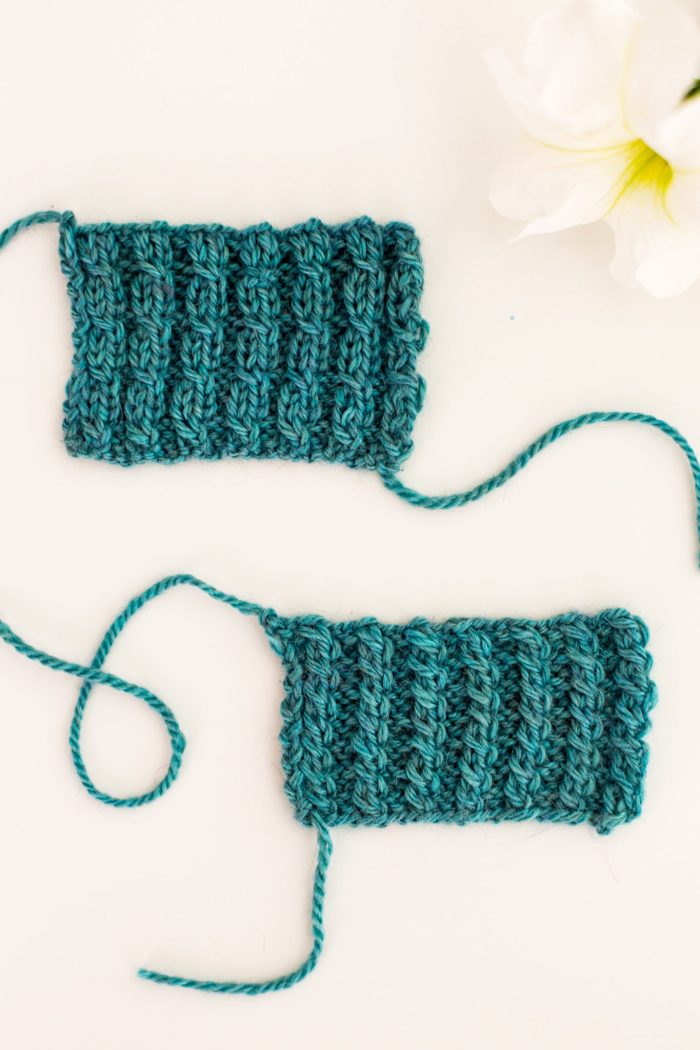
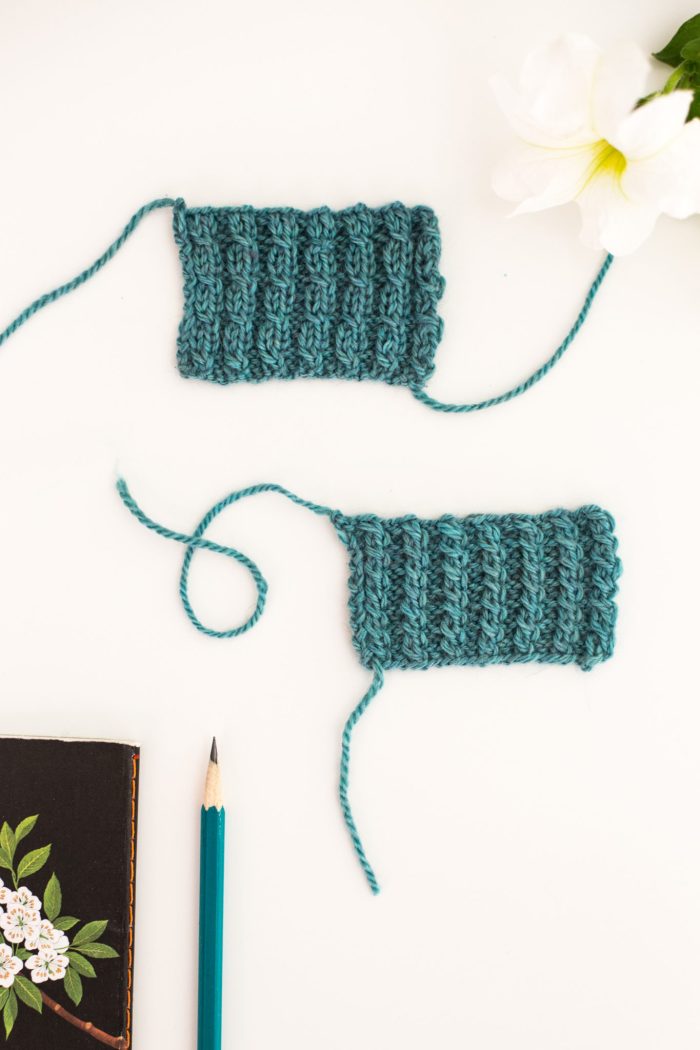
Add a fun twist to your knitting with mock cable ribbing! Swap out a plain jane Purl 2 x Knit 2 ribbing for something with a little more pizzazz. I love these two mock cable ribbing patterns for the exciting twist they bring a simple hat, pair of mittens or stockinette garment. Or, do a whole hat in this rib! They aren’t difficult to do–no cable hook needed!–yet they look super fancy.
These mock cable patterns achieve their look by twisting two stitches as you knit, which simulates the cable without using a cable needles. I’m going to write out the pattern first and then show the tricky bits in a photographic tutorial below.
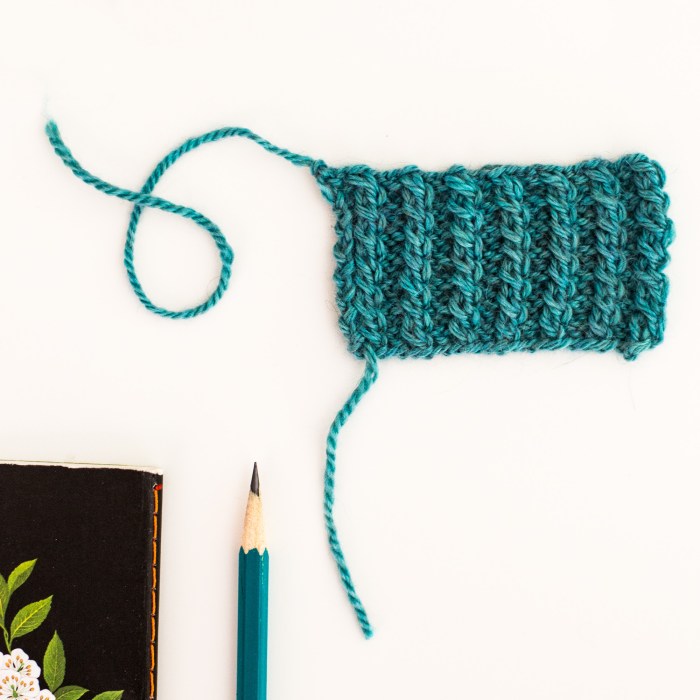
Mini Mock Cable Ribbing
Cast on a multiple of 4 stitches (if adding to a pattern you may want to add a selvage stitch to each end of ribbing)
Starting with wrong side (this gives you something to work the second row into)
Row 1: *K2, P2, repeat from * to end.
Row 2: *K1 through back loop of second stitch, then knit through first stitch normally and slip both stitches off, P2, repeat from * to end.
Repeat rows 1 and 2 for desired length.
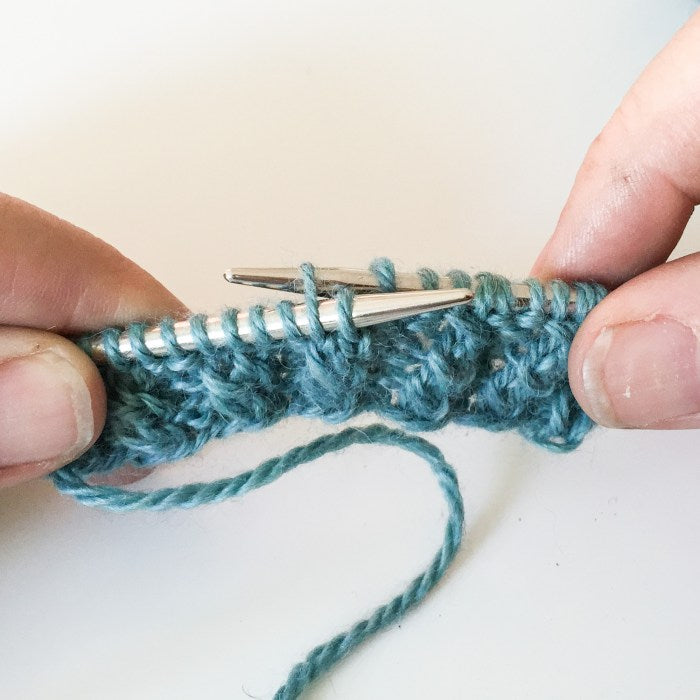
For the direction in Row 2, follow the photos below:
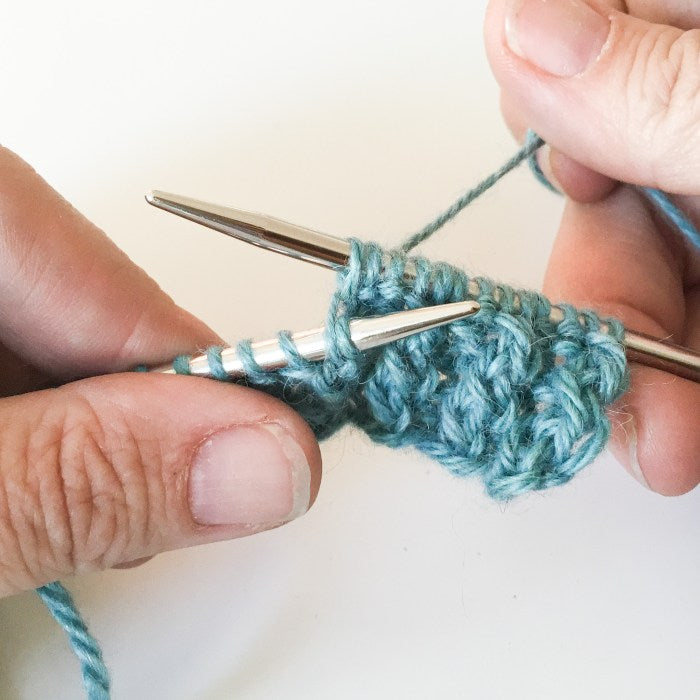
To “K1 through the back loop of the second stitch” as written in the pattern, put your right hand needle through the back of the loop (tbl) of the second stitch on your left hand needle.
Knit that second stitch while still keeping the first stitch on the needle. (This is trickier on the first cast on row, but be patient and know that all subsequent rows will be MUCH easier!)
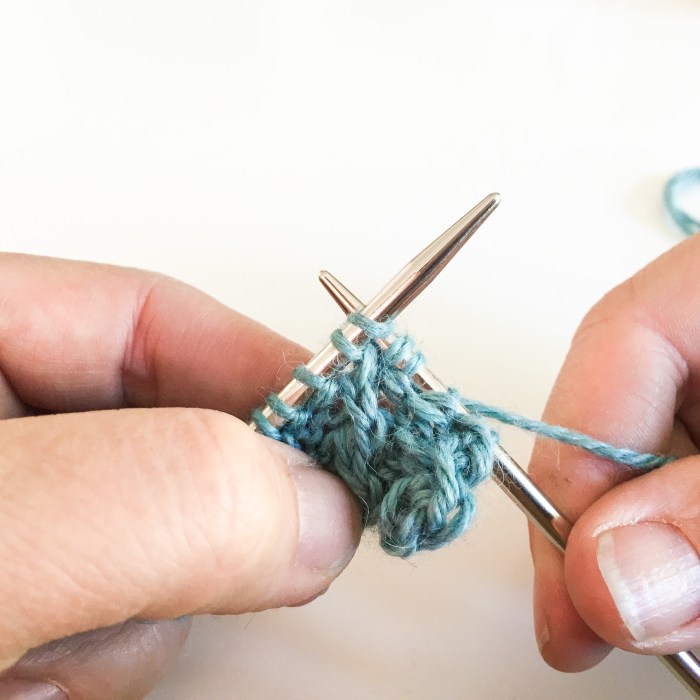
Come back in front (keep in mind that second stitch that you already knit is still on your left hand needle) and knit the first stitch as you normally would.
Now you’ve knit the first two stitches (see how the two new stitches are on your right hand needle and the two old stitches are on your left hand needle). Now the two old stitches on your left hand needle both have to come off the needle at this time.
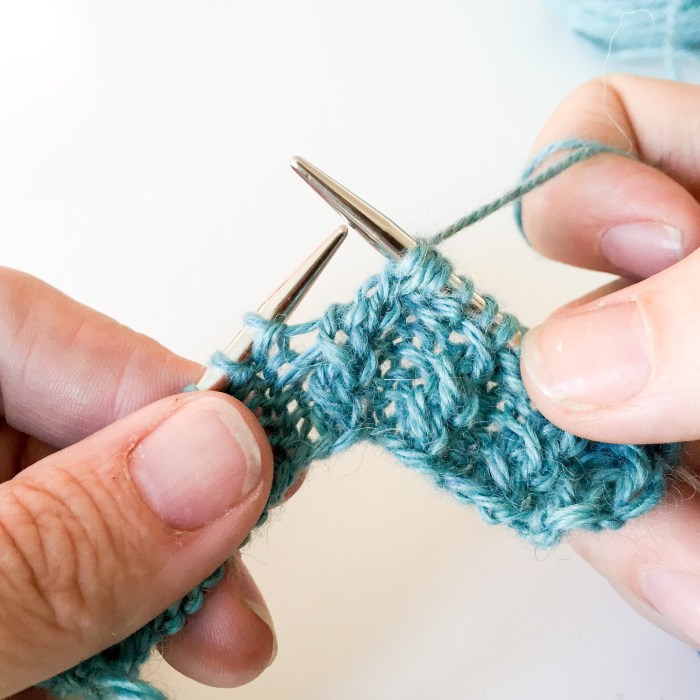
Here is how it looks after both old stitches are off. The two stitches that you knit out of order have both come off and created a little mock cable over on your right hand needle. Now, you can go ahead and purl 2 stitches as you normally would. Repeat this mock cable process, then the 2 purls, all the way across the row.
The next row is the simple k2, p2. Then repeat those two rows again and again until desired length.
That’s all there is to it! Now on to another very simple variation.
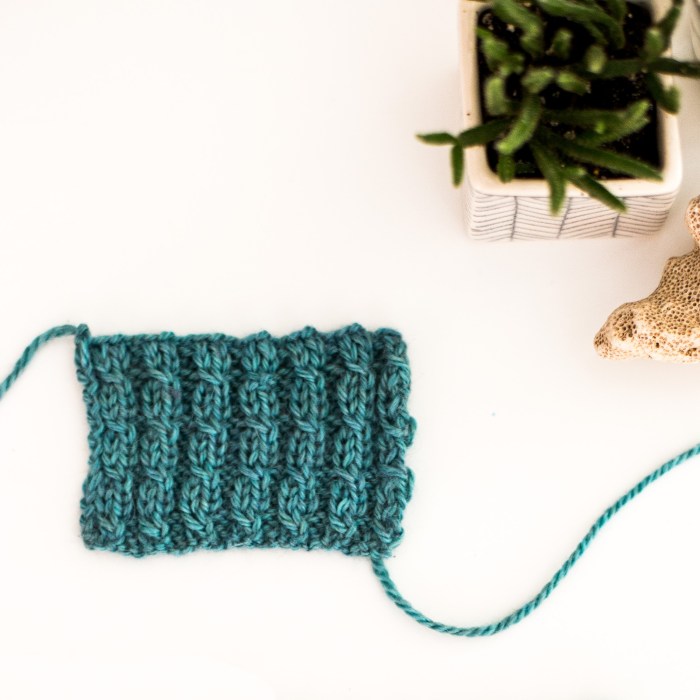
Mock Cable Ribbing
The Mock Cable Ribbing is the exact same technique as above, only in this pattern you create three rows of k2, p2 in between each mock cable row. Here is the pattern written out in a traditional way.
Cast on a multiple of 4 stitches (you may want to add a selvage stitch to each end of ribbing if adding in to a pattern).
Starting with wrong side (this gives you something to work the second row into)
Row 1: *K2, P2, repeat from * until the end.
Row 2: *K2, P2, repeat from * until the end.
Row 3: *K1 through back loop of second stitch, then knit through first stitch normally and slip both stitches off, P2, repeat from * until the end.
Row 4: *K2, P2, repeat from * until the end.
Repeat rows 1 to 4 until desired length.
By adding the extra two rows of K2,P2, the cable twist is drawn out an looks more like a traditional cable. Love them!!
Give it a go in a fave old standard pattern, swap out that old ribbing for something twisted – a perfect unique, yet subtle detail.
This post was created for MarthaStewart.com by Anne Weil of Flax & Twine as a Contributor. It was published there on November 6, 2015. Have fun exploring my profile and work there.





Leave a comment
This site is protected by hCaptcha and the hCaptcha Privacy Policy and Terms of Service apply.